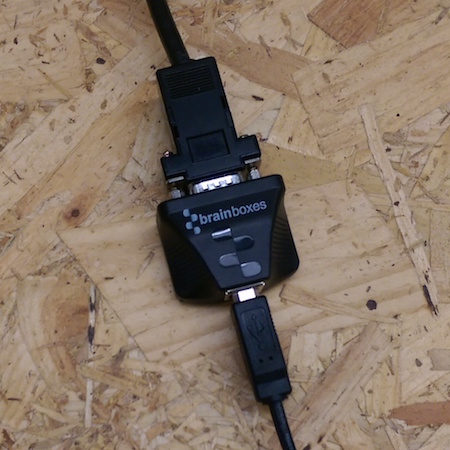
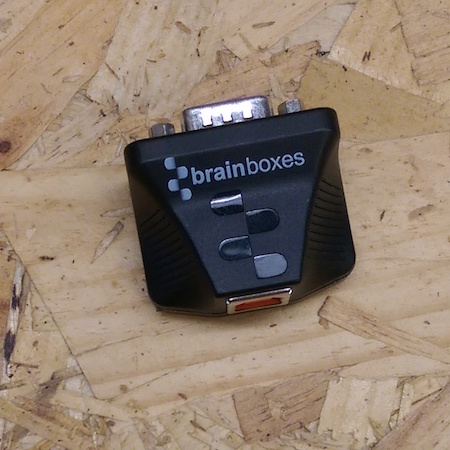
How do I wall mount my US-235 or US-320 USB to Serial Adapter?
Below are step by step instructions to wall mount the US-235 (1 Port RS232 to USB to Serial adapter) and the US-320 (1 Port RS422/485 USB to Serial Adapter).
What you will need:
-
US-325 or US-320:

-
Drill:

-
Electric Insulating Tape:

-
Countersink Screw: Head diameter 6mm. Length & Type dependent on the wall being mounted to.

-
Countersink drill bit:

-
Flat head screw driver, cross head screw driver:

Instructions:
-
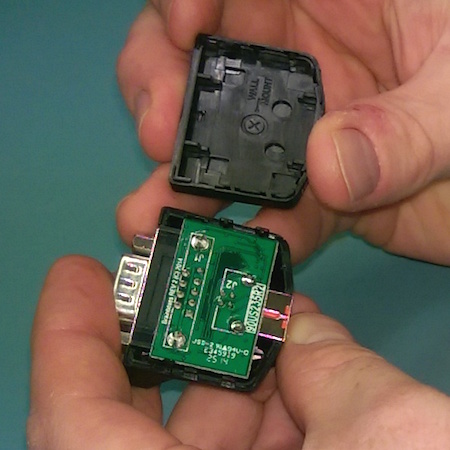
1. Open Case
Open the plastic case by gently inserting the small flat head screw driver between the seams of the case next to the DB9 connector. Rotate the screw driver from side to side to prise the case open:

-
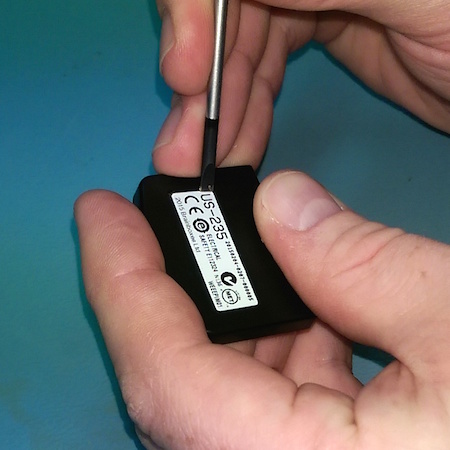
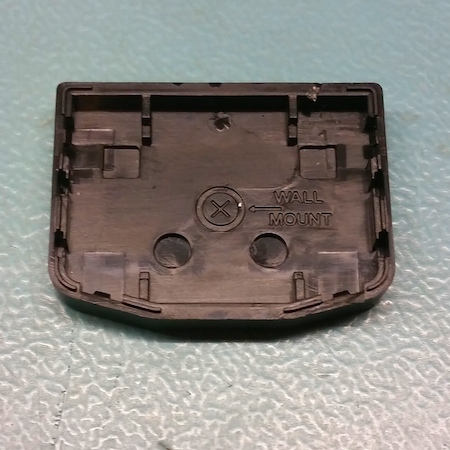
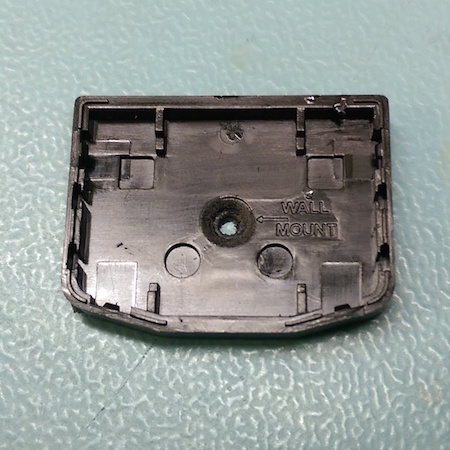
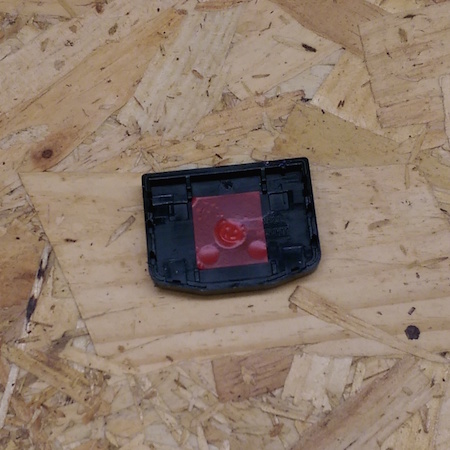
2. Remove Label
Use the small flat head screw driver to remove the label from the underside of the case and reposition it. The wall mount hole is location under the label:
-
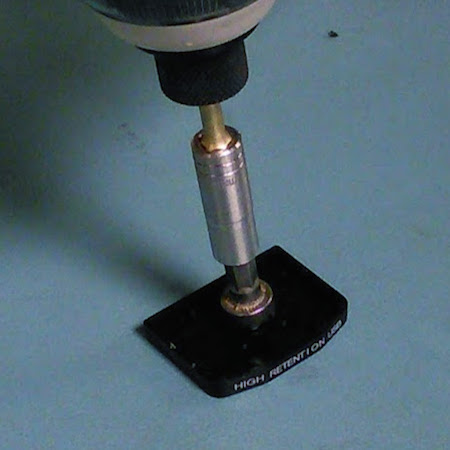
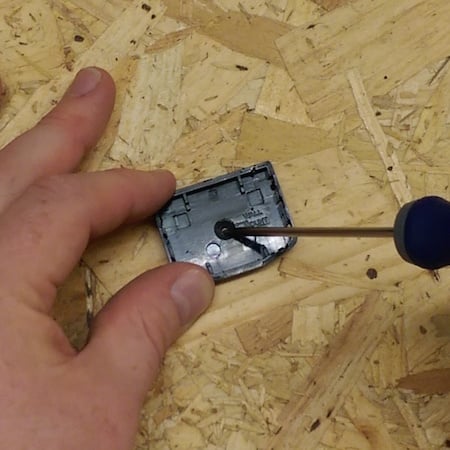
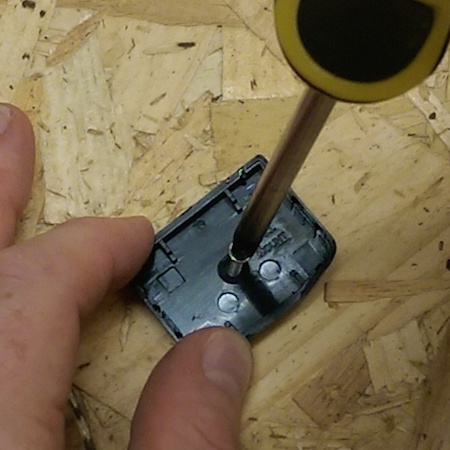
3. Make countersunk hole
Use the countersink and drill to make a hole in the location indicated on the inside of the case. Do not drill for extended periods of time as this will heat up the plastic. Countersink to the width of the outer circle indented on the inside of the bottom case:
-
4. Mark Hole location
Using a pencil or a bradawl mark where the case will be positioned on the wall. Depending on the wall a pilot hole and or wall plug may be required:
-
5. Screw In case
Screw the bottom of the case into place on the wall:
-
6. Insulate
Cover the screw with a small square of insulating tape:
-
7. Attach
Attach the top and the case and electronics into place:
-
8. Connect Cables
Connect the USB and Serial Cable