
ES Industrial Configuration Using Boost.LAN Manager
- Boost.LAN Manager application is the graphical user interface for locating and configuring all Brainboxes' Ethernet to Serial devices in Windows.
- Boost.LAN Manager is the COM ports device driver that you will use in Windows to access your ES ports as standard Windows COM ports. You need Boost.LAN Manager to install the Boost.LAN COM ports driver.
Boost.LAN Manager is not required if:
- Your application speaks directly to IP addresses. (E.g. using telnet or Win sock communication)
- You want to remotely change the settings of the ES device via web page access
Follow the instructions below to start the installation process.
If you have any issues with installation, see the Troubleshooting section.
Windows Installation: Boost.LAN Manager Application (Windows 7)
With the computer turned on, insert the Boost.LAN Driver CD. This should launch the Brainboxes Navigation Page.
If the navigation page does not auto load, go to Start -> My Computer -> Right Click the CD and select Explore. Click "Install" to launch the Boost.LAN Setup.exe program.
Follow the on screen instructions to install the Boost.LAN Manager application:

When installation is complete, you should see an icon labelled "Boost.LAN Manager" on the desktop.
Installing Ethernet to Serial Device Driver (Windows 7)
-
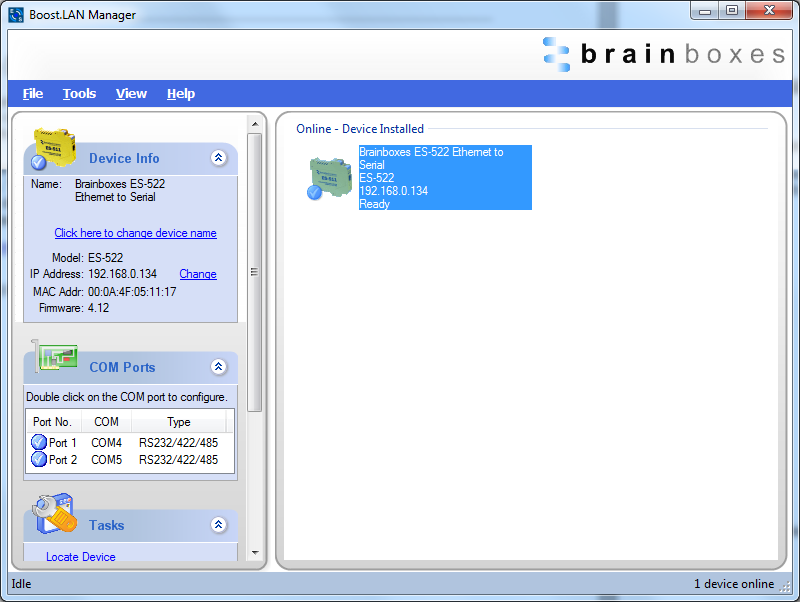
Double click the icon labelled "Boost.LAN Manager" on the desktop to open the application.
-
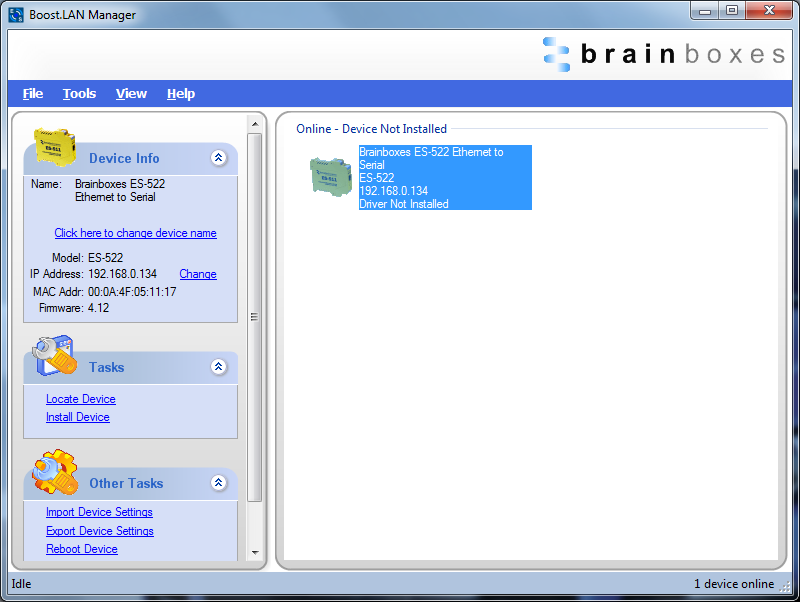
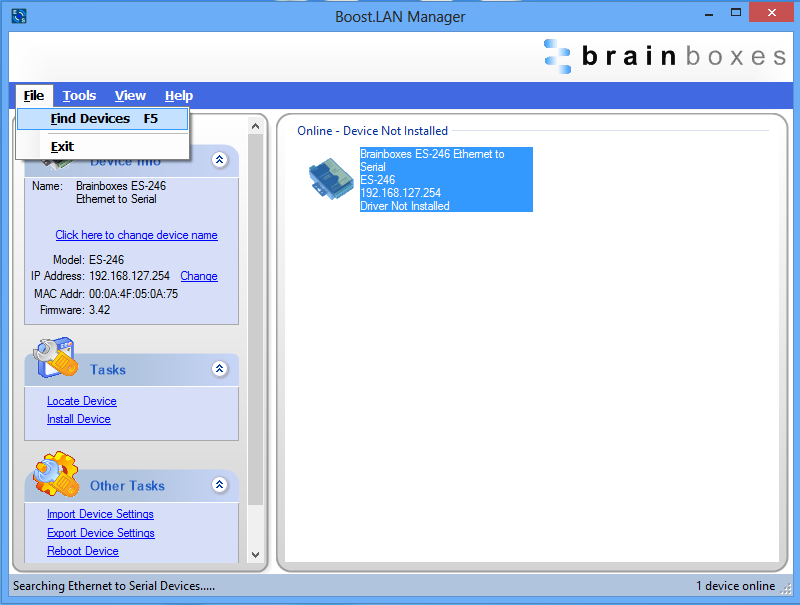
Click on "File > Find Devices" in the top left hand side of the window. This will find any Brainboxes Ethernet to Serial devices connected to your network.
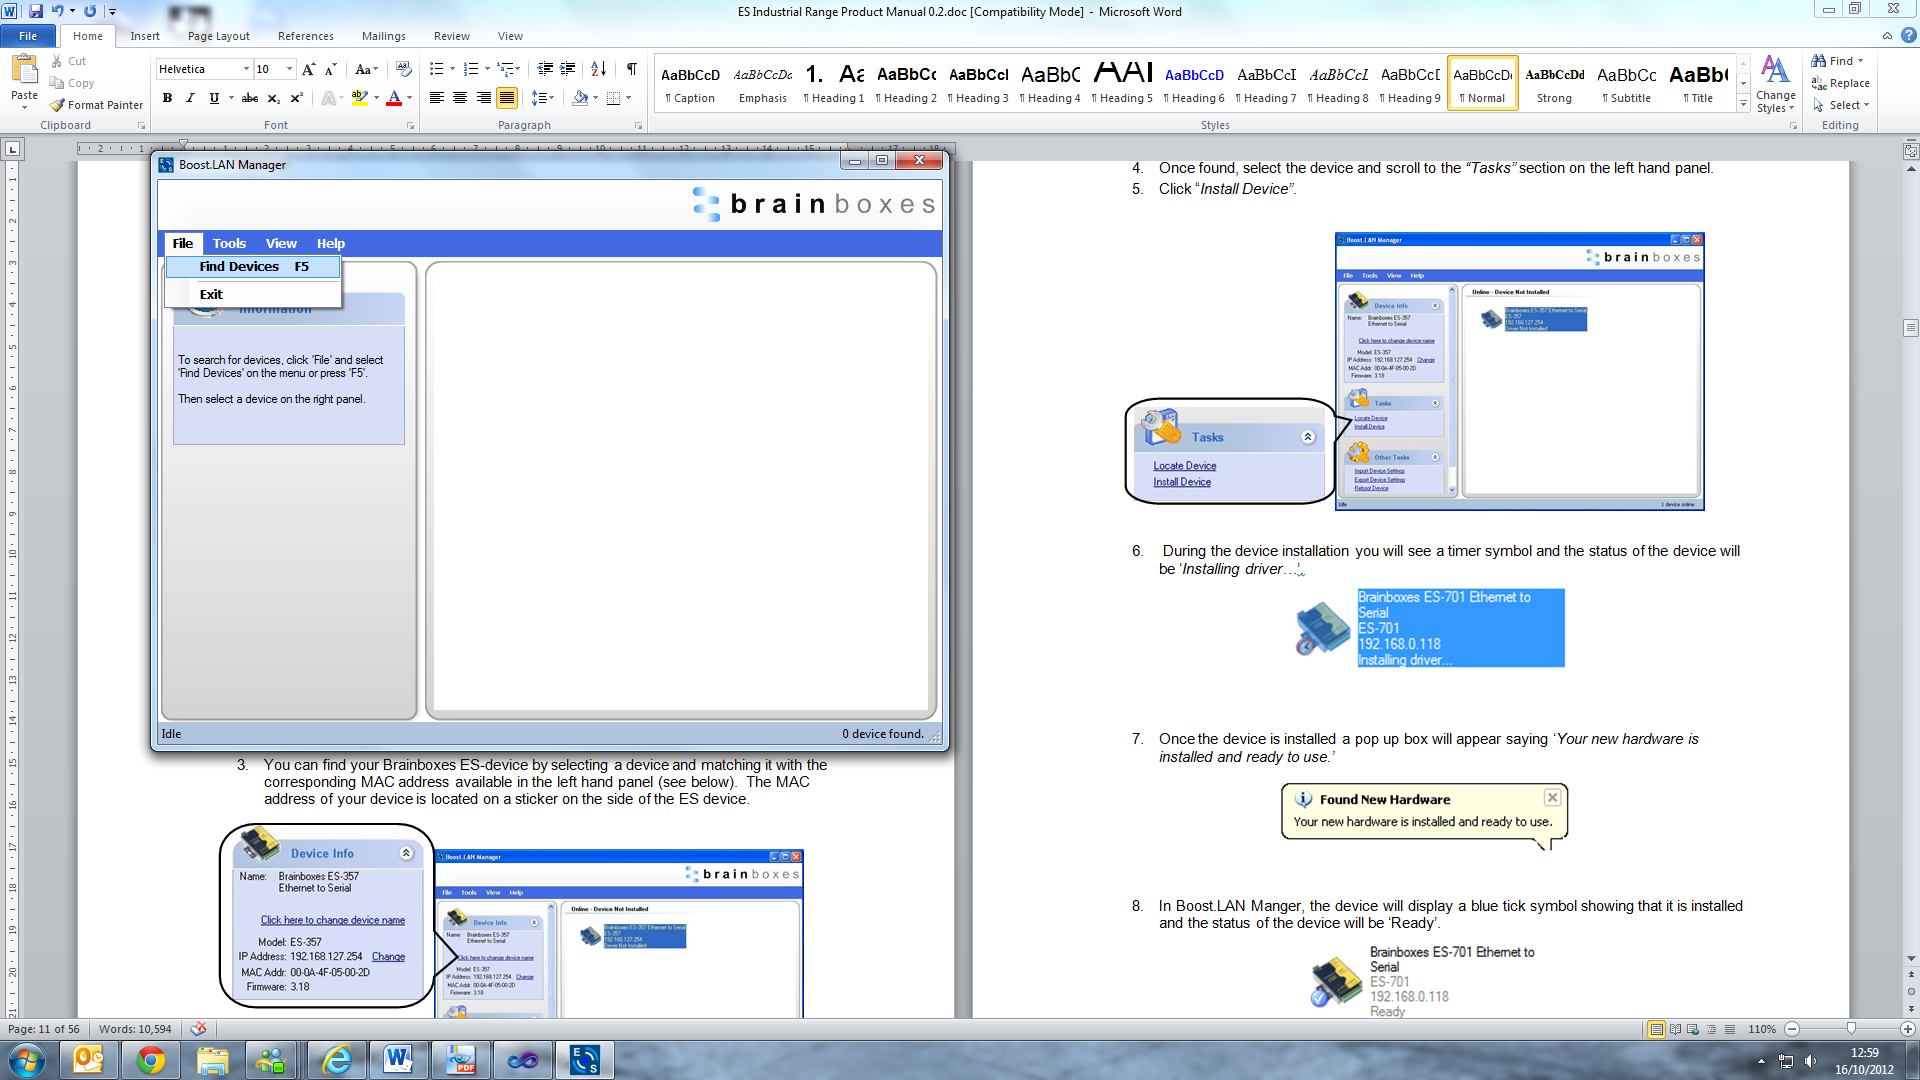
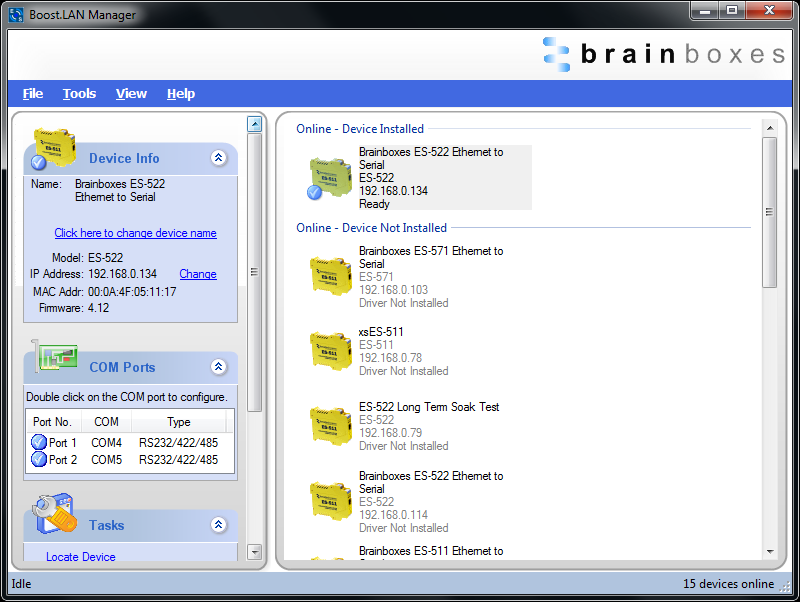
- You can find your Brainboxes ES device by selecting a device and matching it with the corresponding MAC address available in the left hand panel (see below). The MAC address of your device is located on a sticker on the side of the ES device.
-
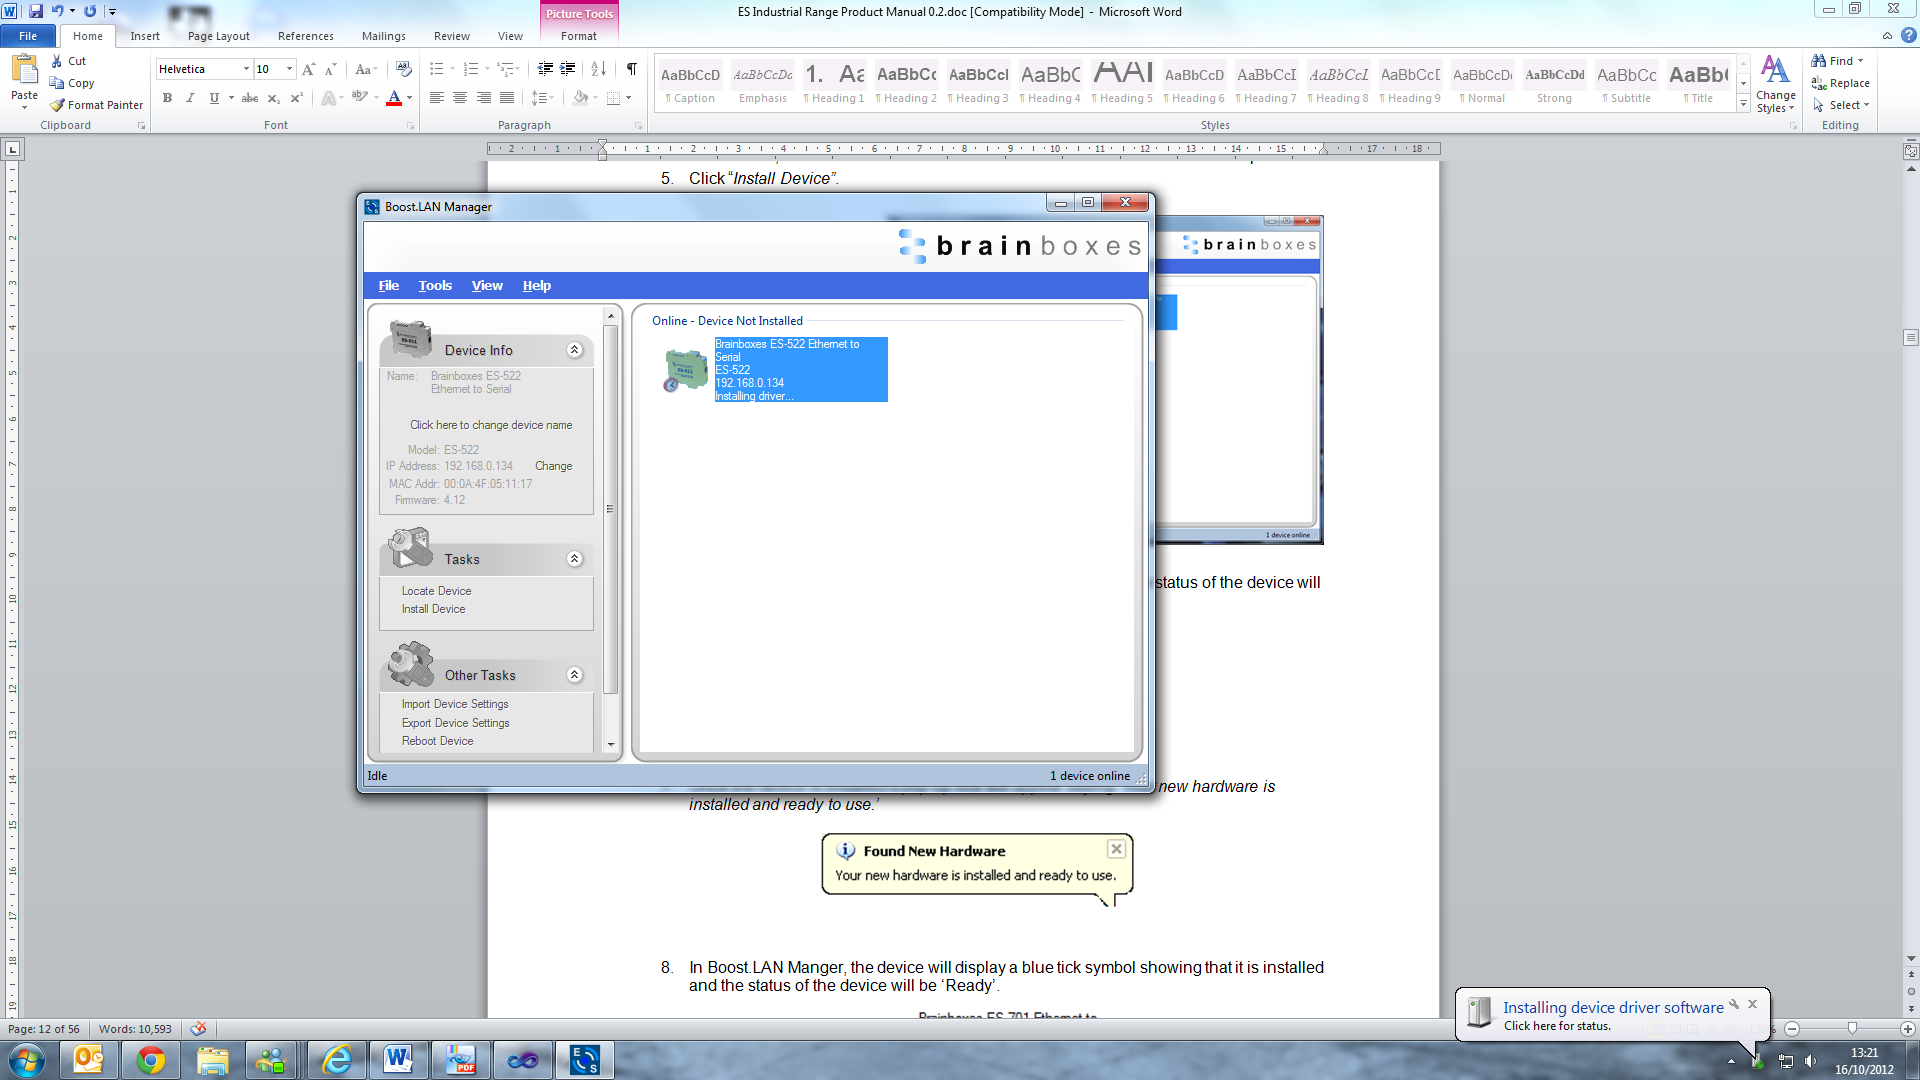
Once found, select the device and scroll to the "Tasks" section on the left hand panel.
-
Click "Install Device".
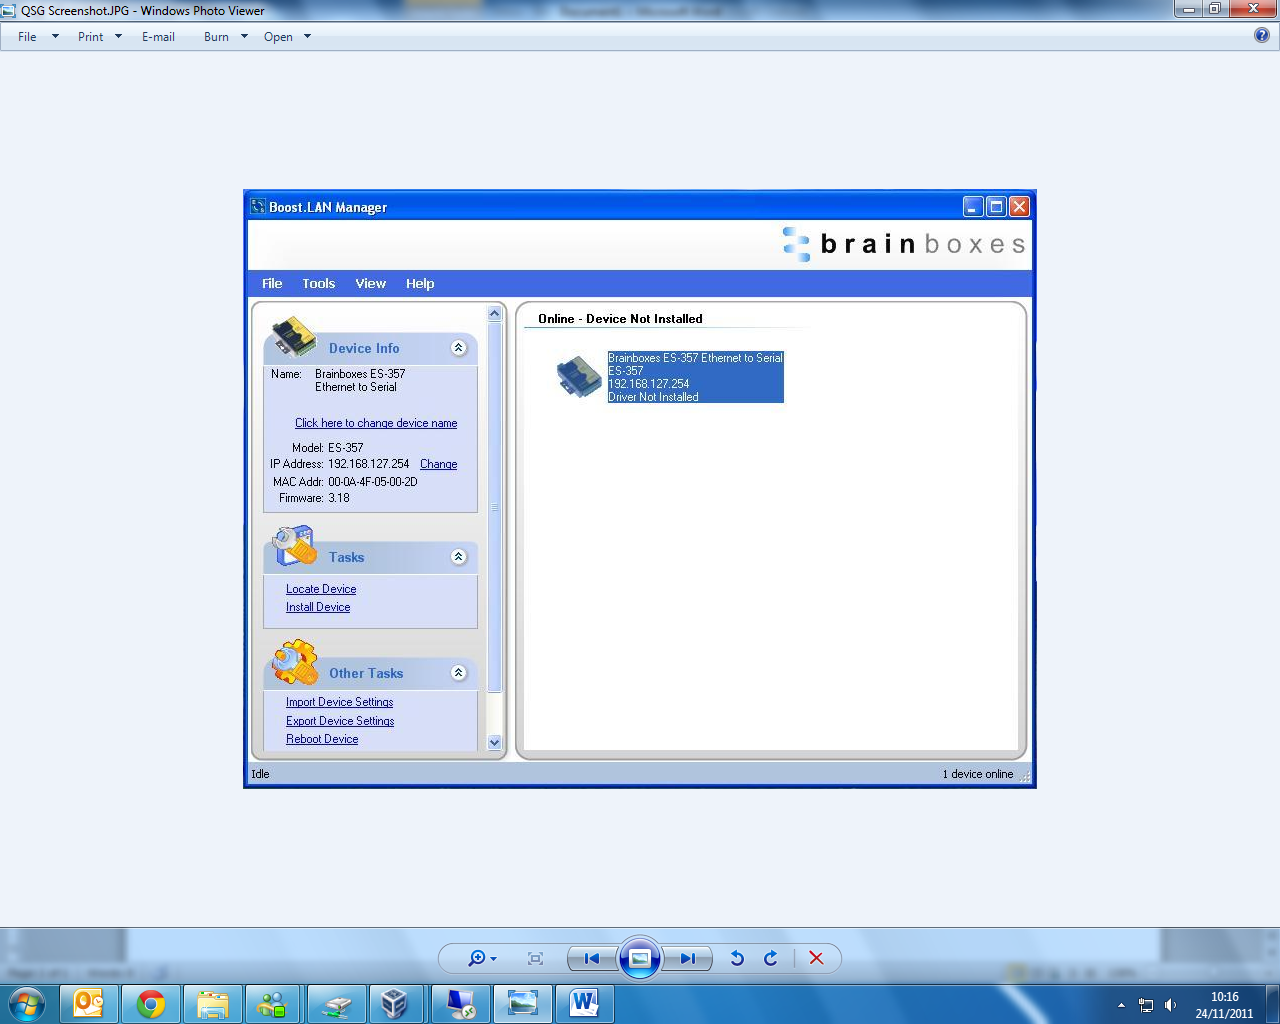
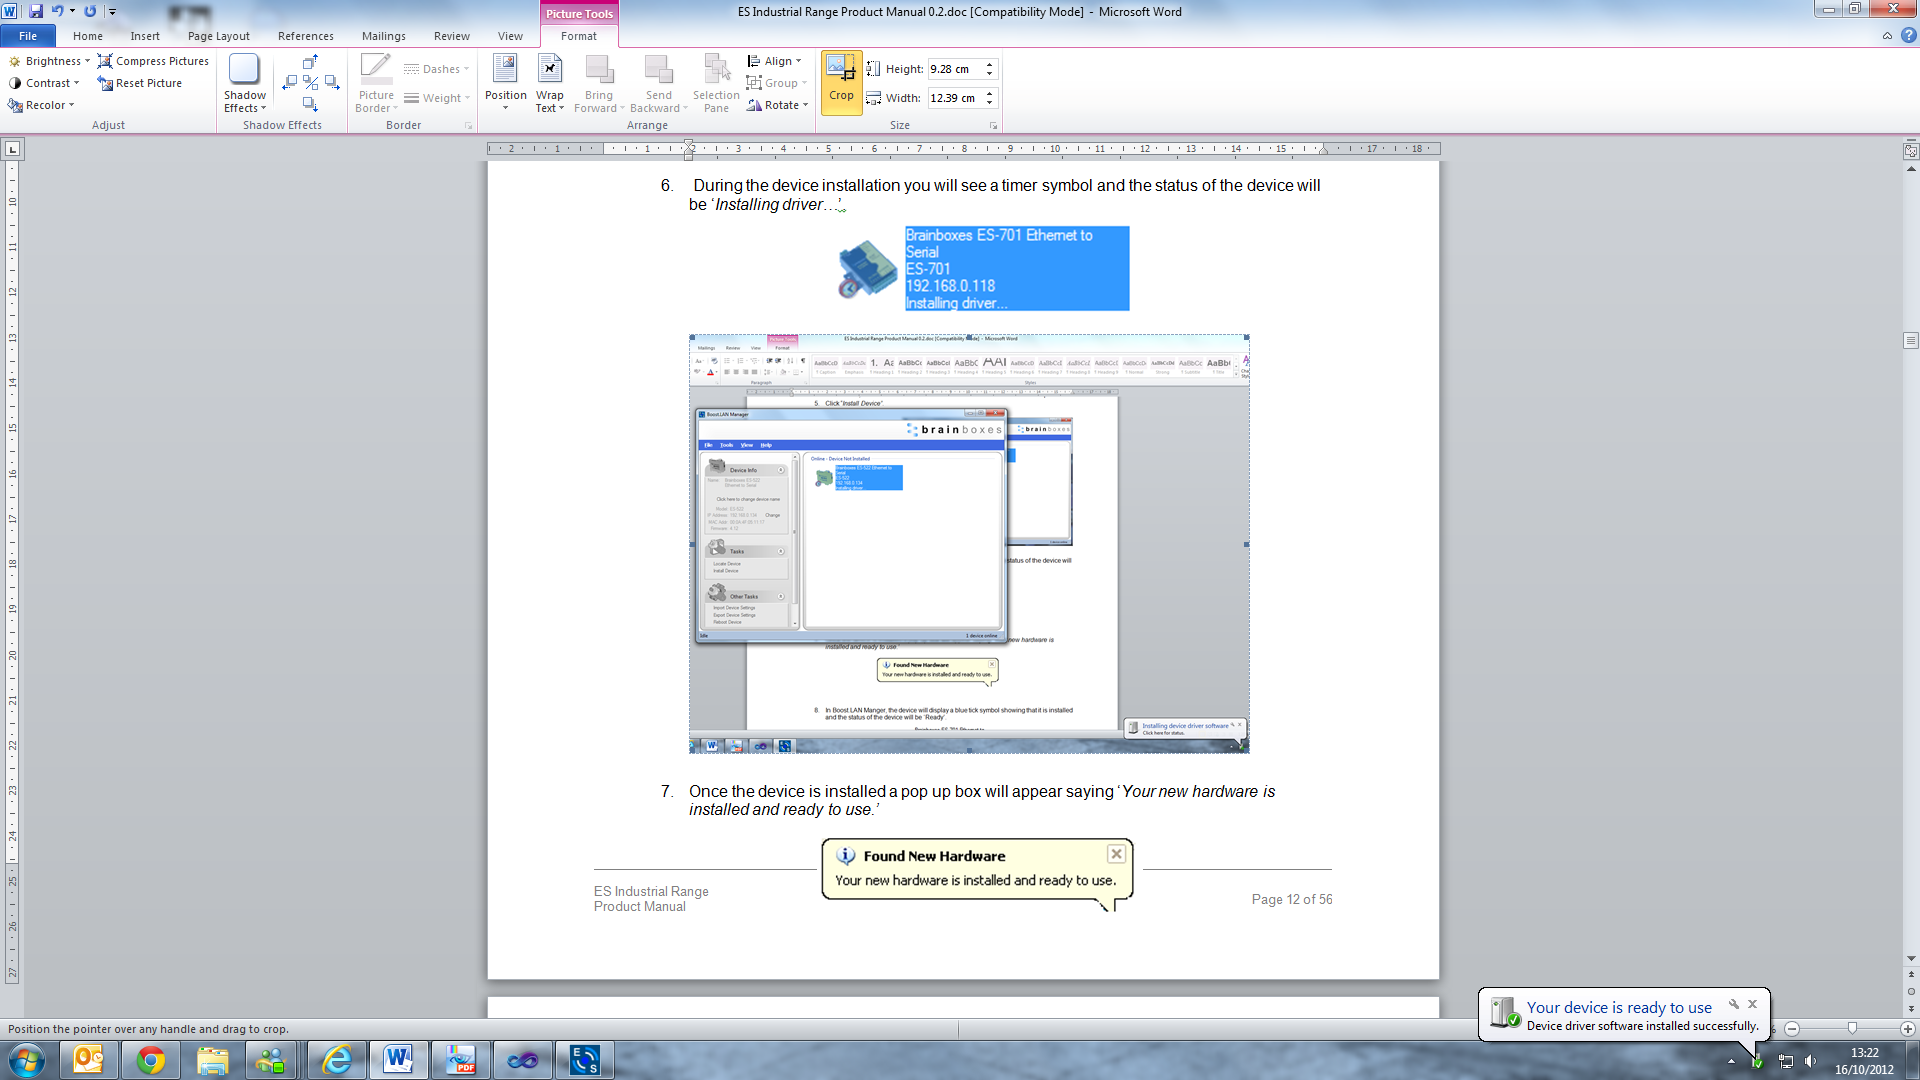
- During the device installation you will see a timer symbol and the status of the device will be 'Installing driver...'
- Once the device is installed a pop up box will appear saying 'Your new hardware is installed and ready to use.'
- In Boost.LAN Manager, the device will display a blue tick symbol showing that it's installed and the status of the device will be 'Ready'. The device will also have moved to the 'Online - Device Installed' section in the main window of Boost.LAN Manager.
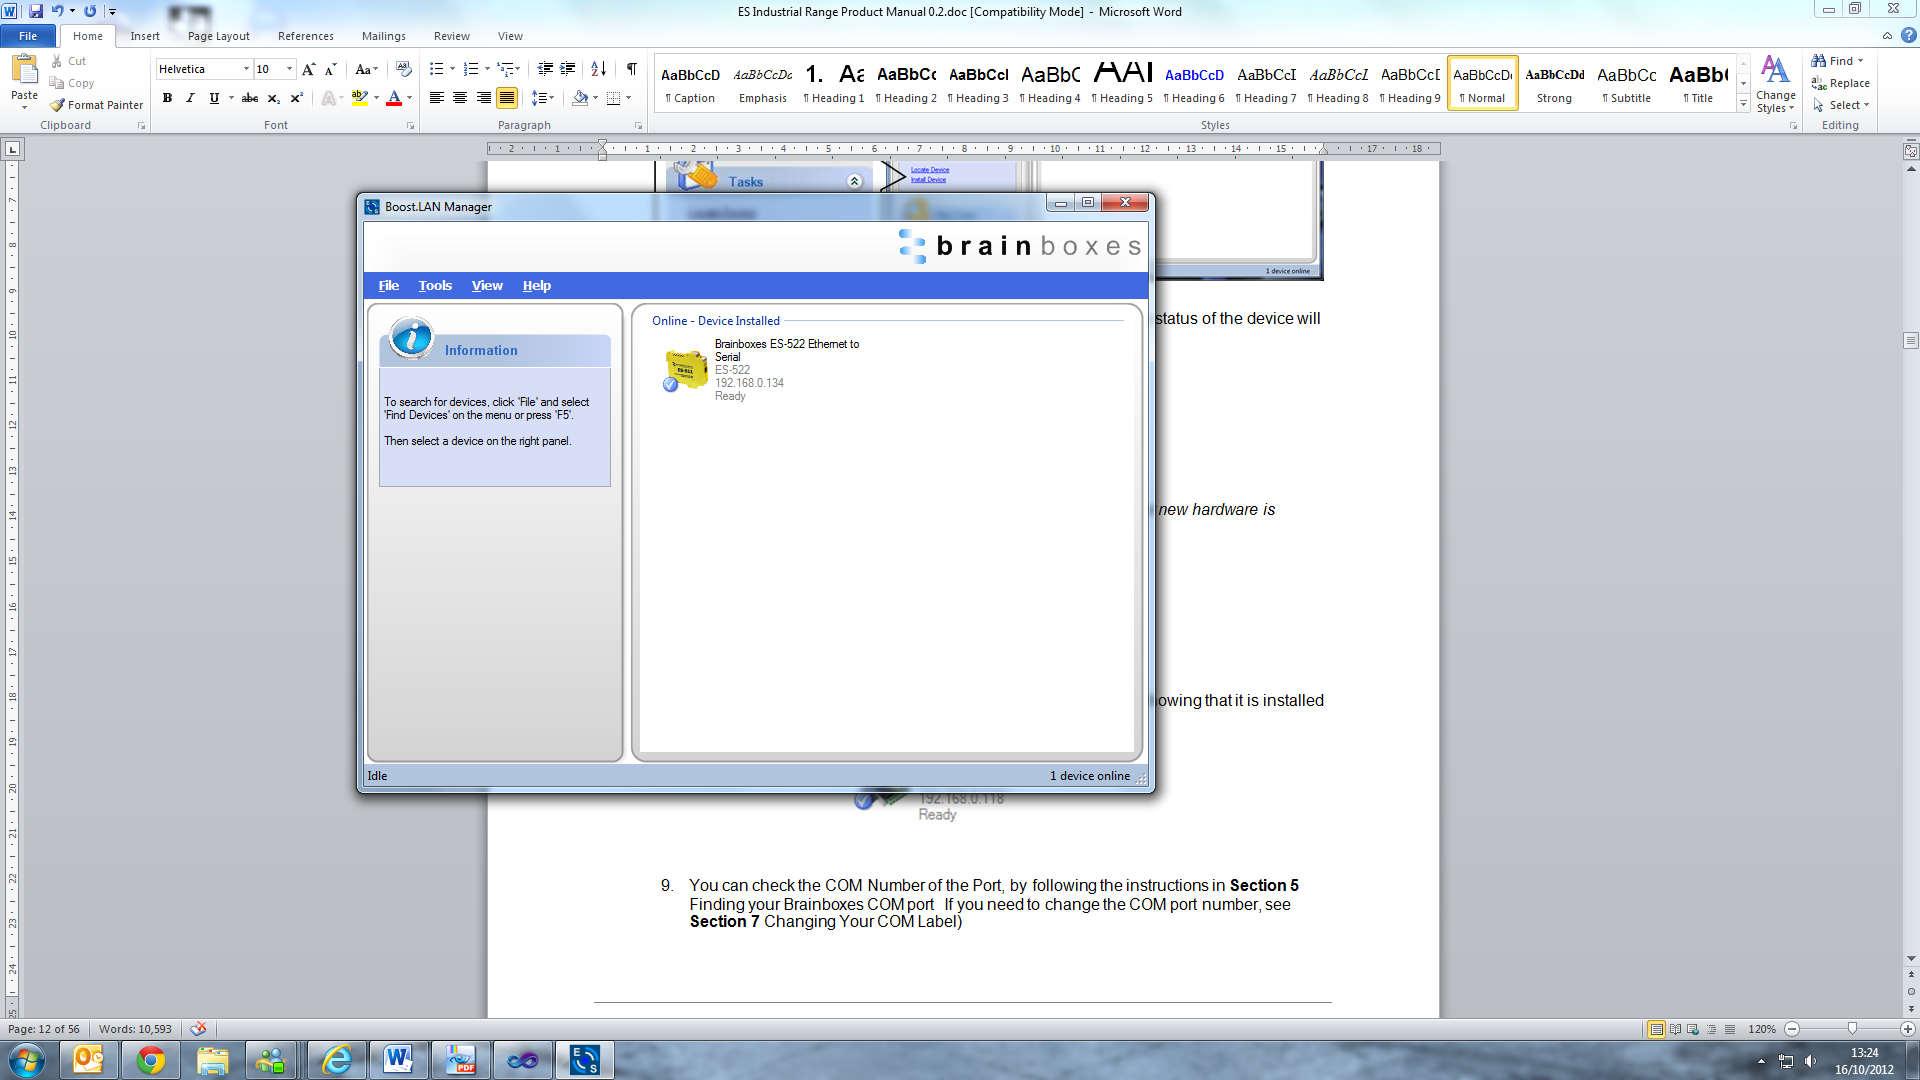
- You can check the COM Number of the port by following the instructions in the section: Finding your Brainboxes COM port. If you need to change the COM port number, see Changing Your COM Label.
Windows Installation: Boost.LAN Manager Application (Windows 8)
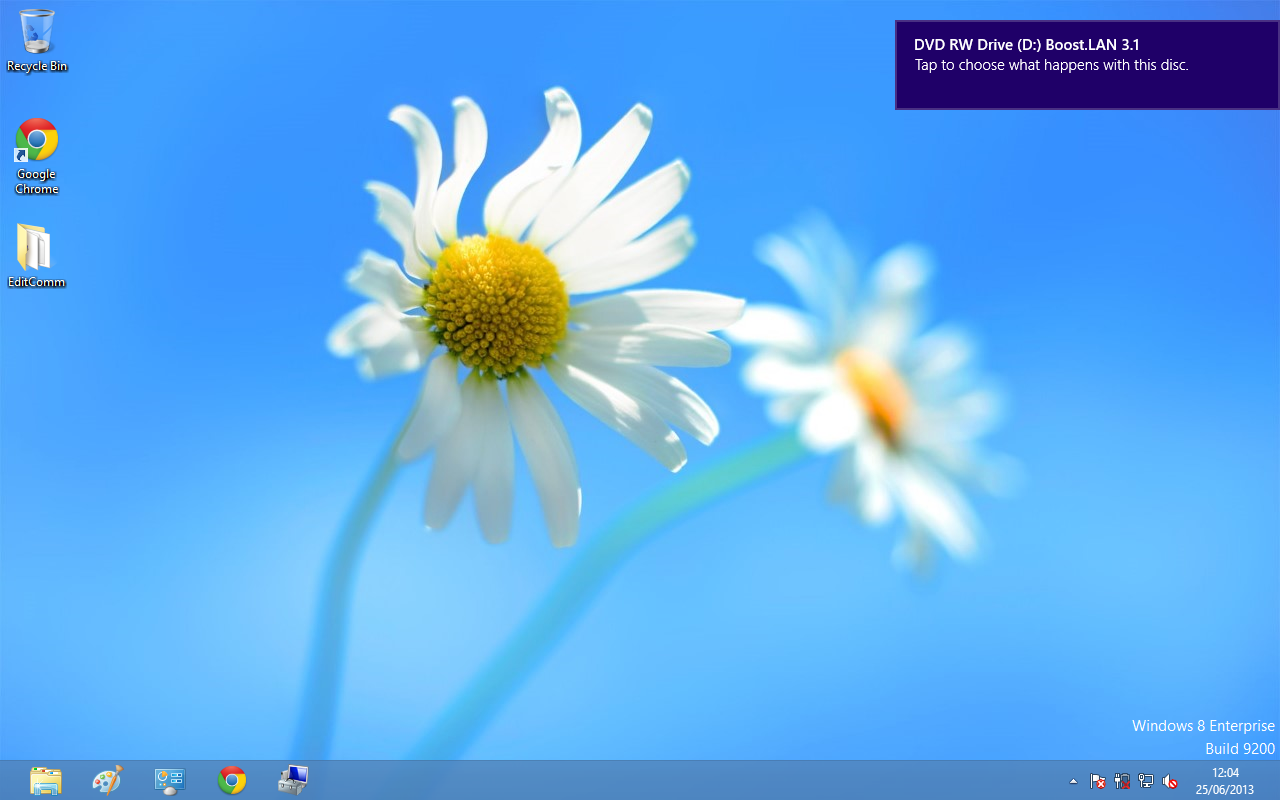
With the computer turned on, insert the Boost.LAN Driver CD.
If the navigation page does not auto load, go to Start -> My Computer -> Right Click the CD and select Explore. This will open the CD in Windows Explorer for browsing the contents of the CD. Locate the "Setup" program on the CD and double click to launch. Proceed to Step 3.
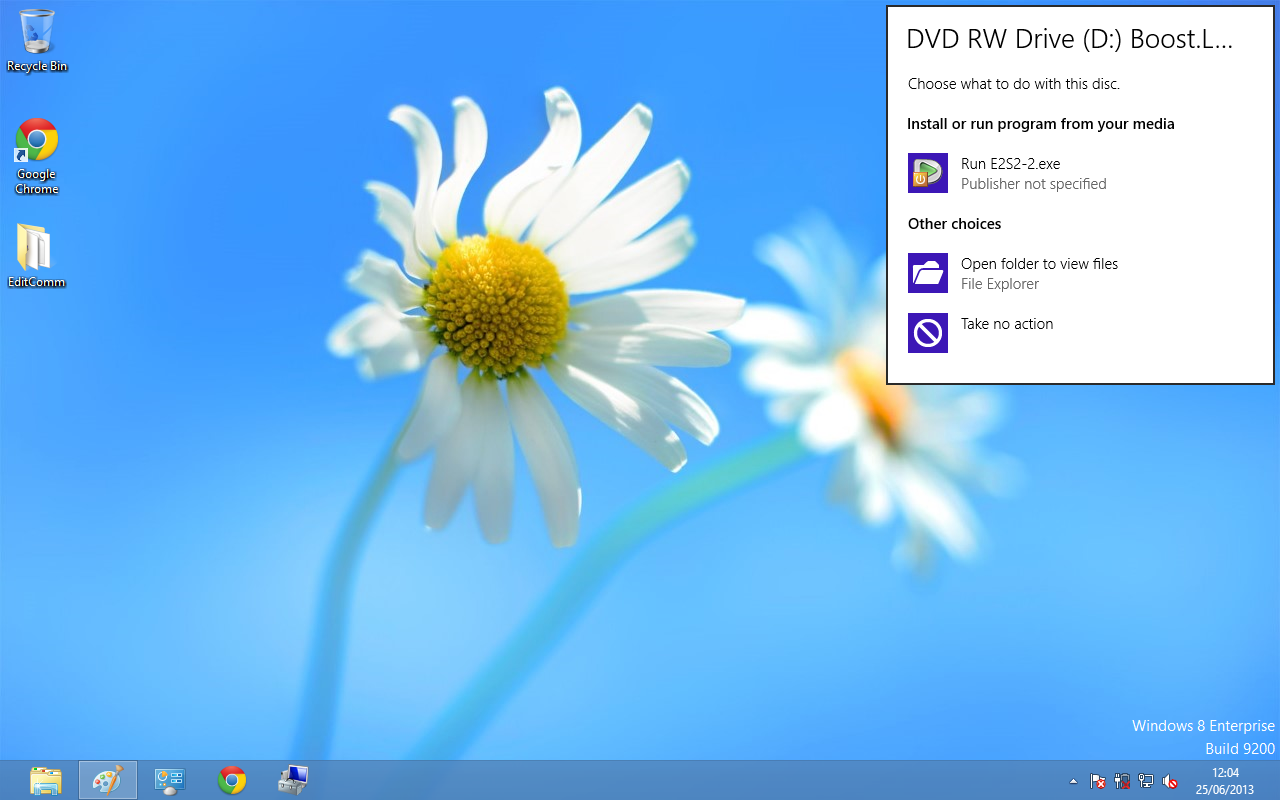
- You will now see a purple pop up window as shown below. Click on it.
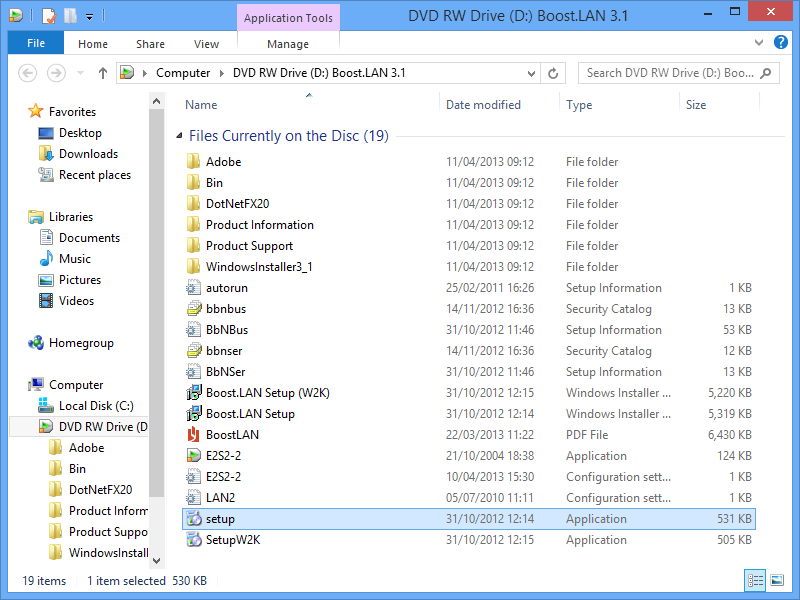
- This will bring up a new menu. Select the 'Open folder to view files' option.
- Click on the setup.exe file to begin the installation on the Boost.LAN manager application.
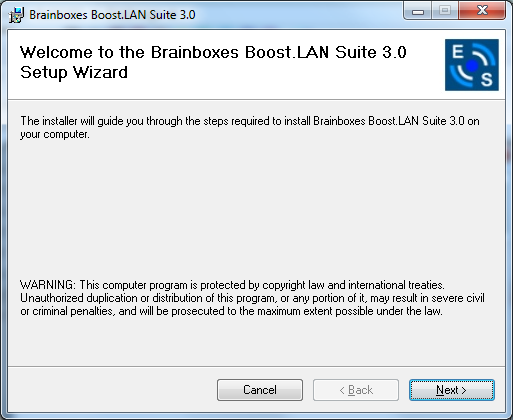
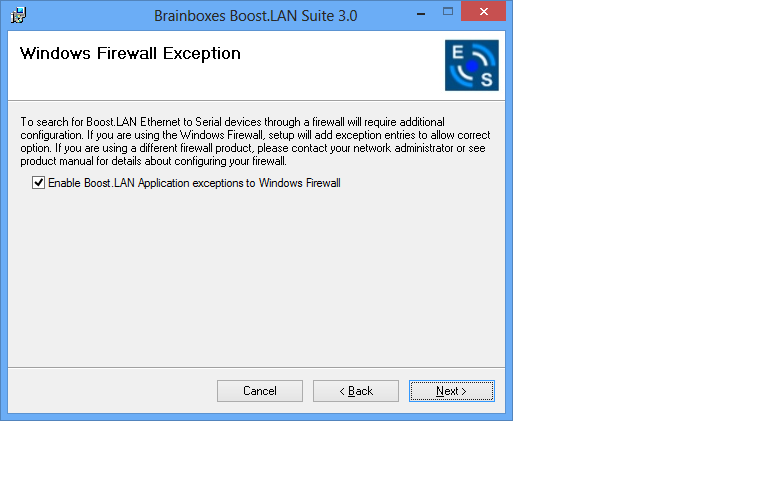
- When you click on the setup.exe file shown above in step 3, you will then be presented with the below window. Press next.

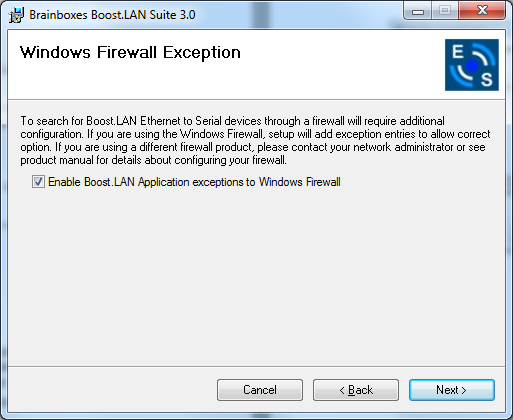
- After you have clicked next, the setup program will ask you to allow Boost.LAN Ethernet to Serial devices through your firewall. Enable the tick box to continue the installation procedure.
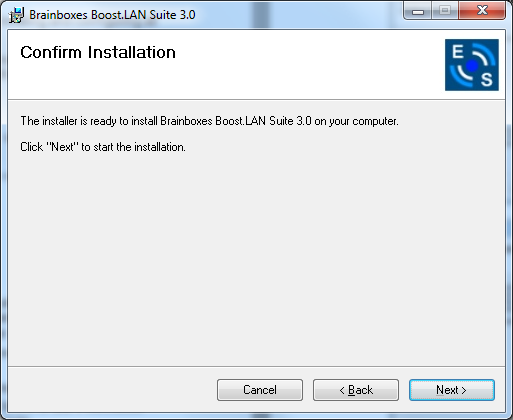
- You will now be asked to confirm whether or not you wish to carry on installing the software. Click next.
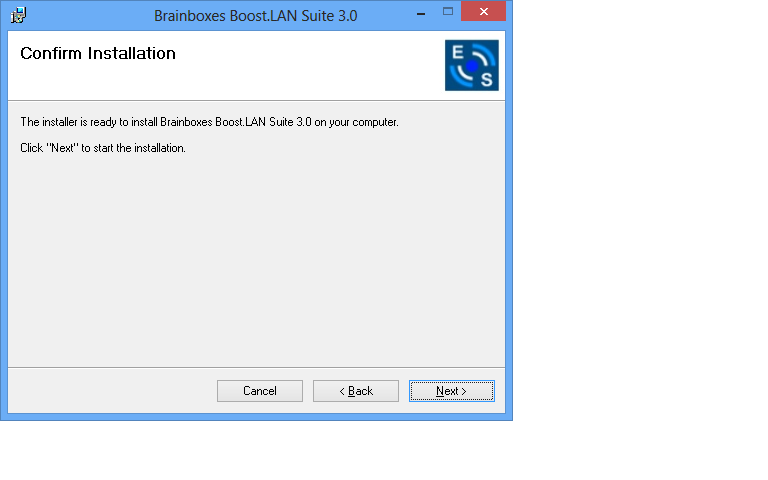
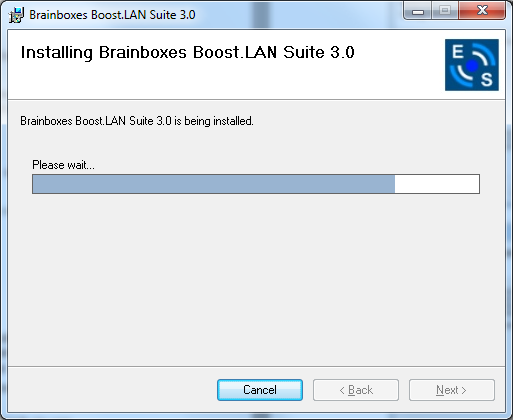
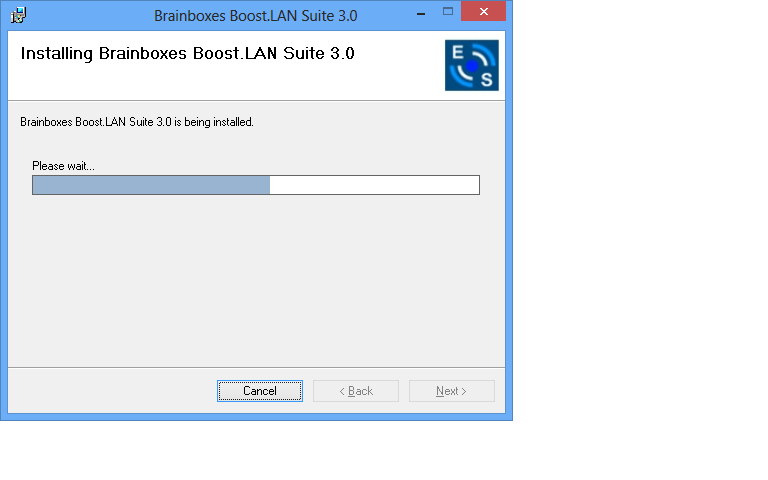
- The software will now begin to install.
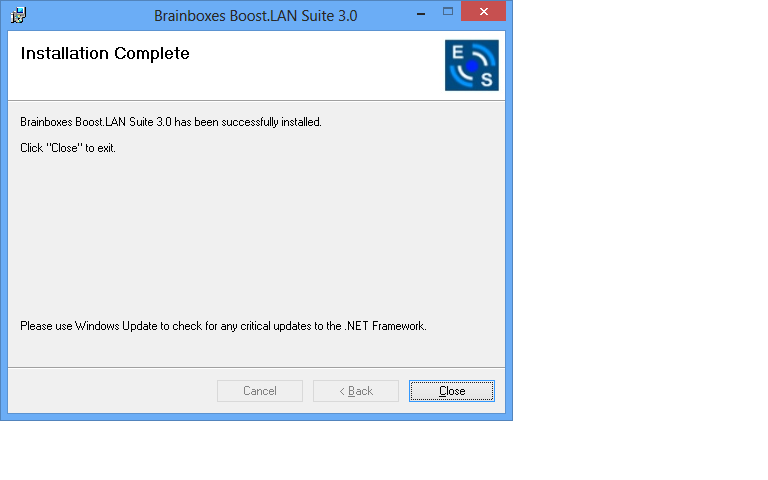
- After the installation has finished, you will now see the below window. Click close.
Windows Installation: Device Driver (Windows 8)
Double click the icon labelled "Boost.LAN Manager" on the desktop to open the application.
-
Click on the "File > Find Devices" in the top left hand side of the window. This will find any Brainboxes Ethernet to Serial devices connected to your network.
You can find your Brainboxes ES-device by selecting a device and matching it with the corresponding MAC address available in the left hand panel (see below). The MAC address of your device is located on a sticker on the side of the ES device.
-
Once found, select the device and scroll to the "Tasks" section on the left hand panel. Now click Install Device as shown below.
The device will now begin to install. During the device installation you will see a timer symbol and the status of the device will be 'Installing driver...'
- In Boost.LAN Manager, the device will display a blue tick symbol showing that it is installed and the status of the device will be 'Ready'. Shown below.
- You can check the COM Number of the Port, by following the instructions in Finding your Brainboxes COM port. If you need to change the COM port number, see Changing Your COM Label.
Finding your Brainboxes COM port
-
Open Boost.LAN Manager (Found by clicking Start -> All Programs -> Brainboxes -> Boost.LAN -> Boost.LAN Manager).
-
Click on your installed ES Device.
-
Find the "COM Ports" section in the left hand pane.
Changing your COM label
-
If you need to change the COM label, find your Brainboxes COM port (using the section Finding your Brainboxes COM port) then double click on the port entry in Boost.LAN Manager.
-
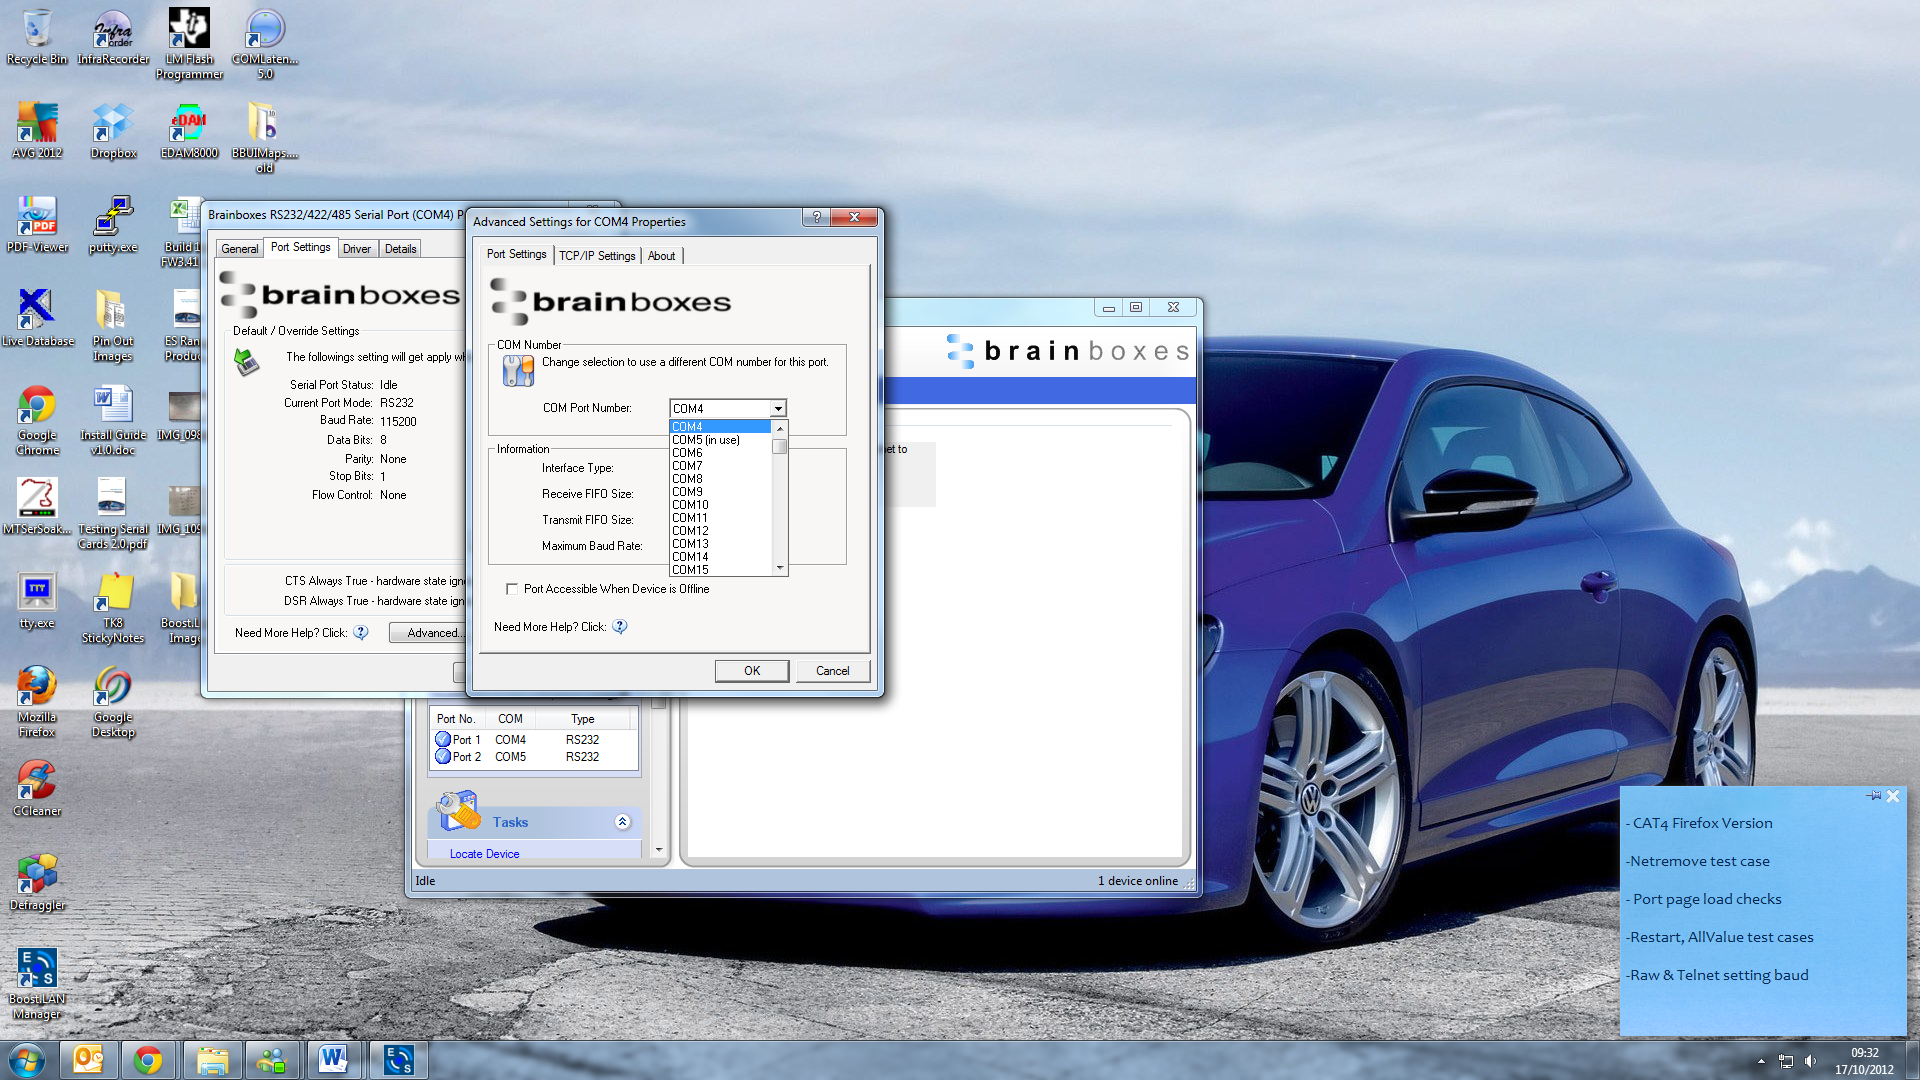
Click on the 'Port Settings' tab and click 'Advanced...'
-
A new COM Port label can be selected from the dropdown menu. Click 'OK' to set the new COM Label.
-
If the COM Port number is labelled "in use", it is either currently used by a COM Port present on the system, or is reserved for a device which is not currently present. It is possible to select this COM number and force the change, if you are sure it is not required by any other device.
Changing the IP Address
As mentioned in the "Hardware Features" section of this manual, the ES device is shipped in DHCP Mode. On connecting to the network, the device automatically checks if it is connected to a DHCP Server. If this is the case, the DHCP server will allocate an IP address automatically to the ES device.
If no DHCP Server is detected within 60 seconds (e.g. you are using a direct cable connection to the PC), the ES device will default to the static IP address 192.168.127.254.
If you require a static IP address this can be set manually using Boost.LAN Manager.
- The IP settings can be easily changed by clicking the "Change" link next to the IP Address available in the "Device Info" section on the left hand panel of Boost.LAN Manager.
- This will bring up the following dialogue box.
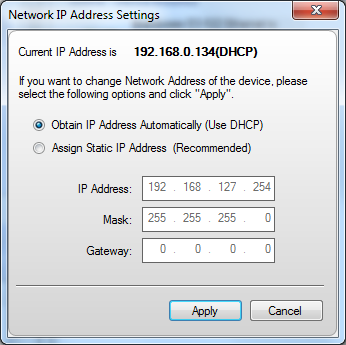
- Click the "Assign Static IP Address" radio button and enter an IP Address, Subnet Mask and Gateway Address, if applicable. Click "Apply" and the device will reboot and then be set to the static IP address you specified.
Changing the Device Name
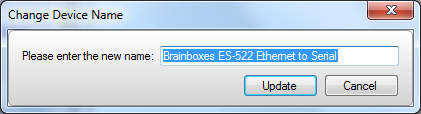
The device name is the name which the device will use when it is displayed on your network. To change the device name, click on the link in the "Device Info" section in the left hand panel of Boost.LAN Manager.
A box will appear which allows you to enter a new name for the device. Enter the new name for the device and click 'Update'. After a few seconds the device name will be updated in Boost.LAN Manager.
Changing Port Settings
The Port Settings allow you to set Default or Override Settings for the serial communication and set how the device will deal with incoming hardware handshaking events.
-
To change the port settings, open Boost.LAN Manager and double click on the Brainboxes COM Port Entry of your installed industrial device. If your device is not installed see Installing Ethernet to Serial Device Driver.
-
Then Click on the 'Port Settings' tab.

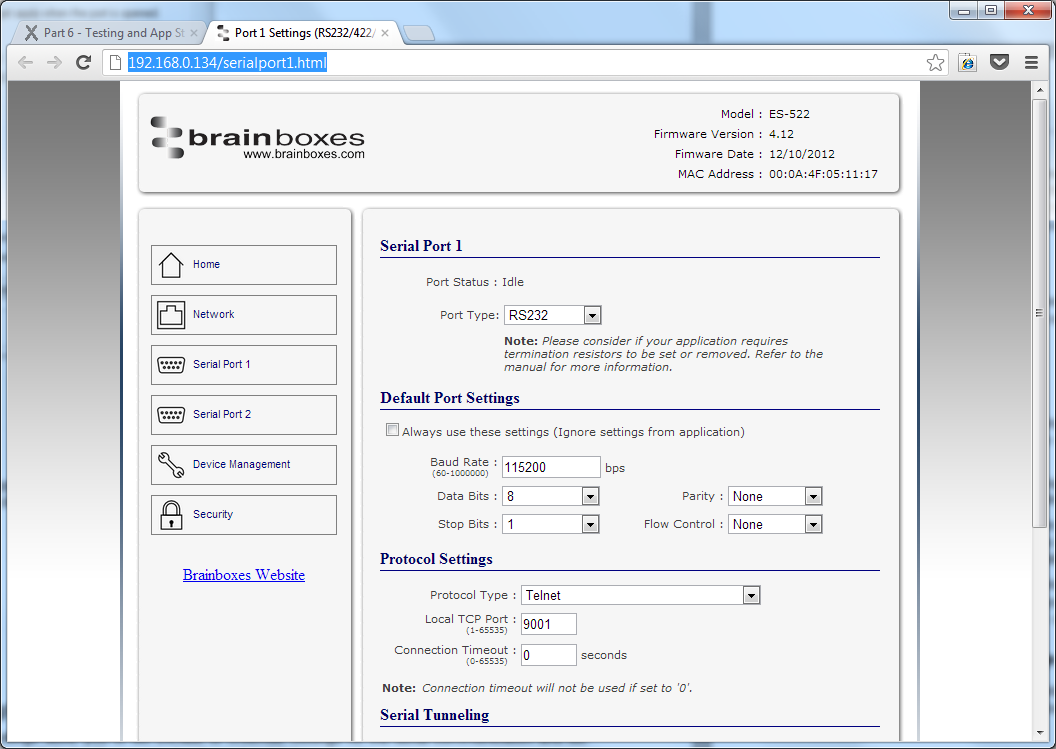
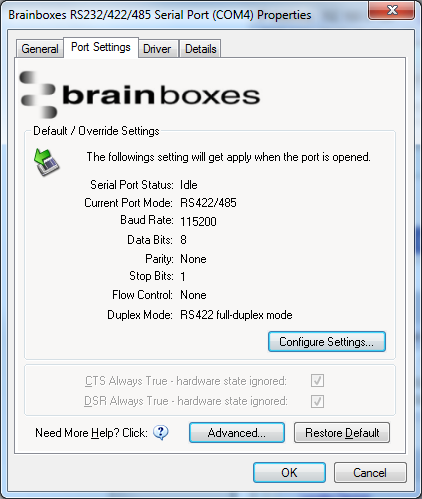
The serial port settings of the ES device are stored in the firmware of the device. As a result of this they have to be configured through the web configuration pages. Click the "Configure Settings" button and you'll be taken to the serial port webpage where the port settings can be configured.
-
Port Status: Displays current state of the port, that is, whether the port is open (Connected) or closed (Idle). When the port is connected, the IP address and TCP port the device is connected to is displayed.
-
Port Type: The Port Type drop down box allows you to set the serial port to RS-232 mode or RS-422/485 mode. For information about the pin outs when the port is set to RS-232 or RS-422/485 mode see the Hardware Features section.
-
Always use these settings: If this checkbox is ticked, the port will communicate using the baud rate, data bits, parity, stop bits and flow control set in this section regardless of what settings the application is using. For example, this will allow you to force baud rates that your application does not allow you to select. This can be useful for interfacing to equipment which uses higher baud rates or unusual baud rates which your application does not support.
-
Protocol Settings
- Protocol Type - Raw TCP: Data sent over the network is the same as the data sent over the serial link.
- Protocol Type - Telnet: Data is sent over the Transmission Control Protocol using a virtual terminal connection.
-
Local TCP Port: Configures which TCP port the ES device will use.
-
Connection Timeout: This is set to "0" by default. If the Connection Timeout is set to anything other than 0, the connection to the port will be disconnected automatically after being idle (i.e. no data is being received or sent to and from the port) for the specified time. The LED for the port will go off at this point. If the Connection Timeout setting is "0", the port will need to be disconnected manually by the user.
CTS Always True
CTS Always true is only relevant when the ES device is configured to operate in RS-232 mode and when RTS/CTS flow control is enabled.
When the ES device is set to RS-422/485 mode, the RTS/CTS handshaking is not supported. As a result, "CTS Always true" will be enabled by default.
CTS is an incoming hardware handshaking line used for controlling the flow of data transmitted out of the ES device serial port. Sometimes these signals may want to be ignored. By forcing CTS to True, the Ethernet to Serial device will ignore those signals and always send data.
The CTS input acts like a road traffic light controlled by an output from the external serial peripheral with which the ES device is communicating.
Whenever the external peripheral is ready to receive data it sets CTS input true i.e. the traffic light is green and the ES device is free to transmit data. Whenever the external serial peripheral is not able to receive data it sets CTS input false i.e. the traffic light is red and the ES device will not send any more data. When the ES device has a green light to send data and the external peripheral changes it to CTS false the ES device will stop transmitting within an absolute maximum of 3 characters depending on how much data is in its output buffer.
This setting is especially helpful when CTS is not physically connected (i.e. in a 3 wire setup) and it is not acceptable for the data flow to stop and start due to arbitrary variances on the unconnected signal lines.
Advanced Settings - TCP/IP Settings & MAC Address
The TCP/IP Settings for the Brainboxes COM Port allow you to view the ES device's TCP/IP settings and MAC.
-
To open Advanced Settings open Windows Device Manager, expand the 'Ports (COM & LPT)' section and double click the Brainboxes Serial Port entry.
-
In the Serial Port Properties, select the 'Port Settings' tab and then click 'Advanced Settings'
-
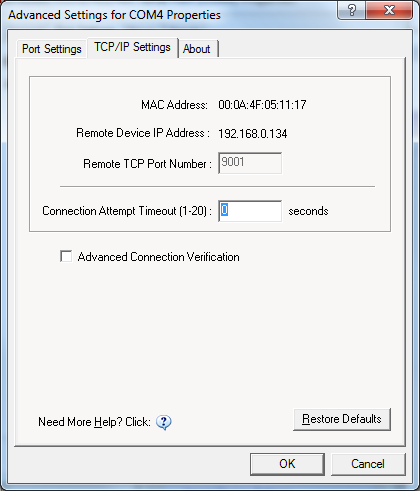
Select the 'TCP/IP Settings' tab.
-
Device MAC Address: This is assigned when the device is manufactured.
-
Remote Device IP Address: If the device is set to DHCP mode the IP address will be automatically assigned by the DHCP server. If it is set to static, this is set by the user either with the Boost.LAN Manager or using the web configuration page.
-
Remote TCP Port Number: TCP number used for accessing the port on the ES industrial device. This is set to 9001 by default and can be changed using the web configuration page.
-
Connection Attempt Timeout: This is set to "0" by default. If "Connection Attempt Timeout" is other than "0", the connection to the port will be disconnected automatically after being idle (i.e. no data is being received or sent to and from the port) for a time ranging from 1 - 20 second/s as specified. If "Connection Attempt Timeout" setting is "0", the port will stay connected until it is manually disconnected by the user.
-
Advanced Connection Verification: This performs the following checks during the connection opening process:
- Verifies the port configuration is set correctly (e.g. RS-232 or RS-422/485) on the device.
- Verifies the device being connected to is the same device model as the device in Boost.LAN Manager
- Forces the device to use Telnet COM Port control (RFC2217)
By enabling this setting, it will increase the time it takes to connect to the serial port.
Adding a device manually using Boost.LAN Manager
There are two main reasons you may need to add a device manually:
- UPnP is turned off on your network meaning you are unable to search for devices that are broadcasting.
- You are accessing the device through one or more routers.
In either of these cases you will need to contact your network administrator to find out the IP address and web server port number for your ES device. Once you have these, follow the steps below to add the device into Boost.LAN Manager.
-
To add a device manually in Boost.LAN Manager, go to Tools and then click 'Add Device Manually'.
-
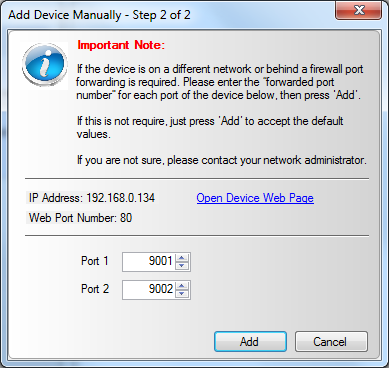
Enter the IP address of your device into the 'Device IP Address' field, and the web server port number into the 'Device Port Number' field.
-
Click the 'Next' button.

- Enter the port numbers for Port 1 and Port 2 and then click the 'Add' button. The device will then appear in the Boost.LAN manager window.
Exporting & Importing Device Settings
It is possible to export the devices current settings to a file, and then import these settings at a later date onto either the same or a different device of the same type. The export feature will export the following settings:
- All Network Settings.
- All Serial Port Settings.
Exporting Device Settings
-
Open Boost.LAN Manager
-
Find and select your installed ES Device.
-
On the left hand panel of the window, scroll down to the "Other Tasks" section.

- Select "Export Settings"
-
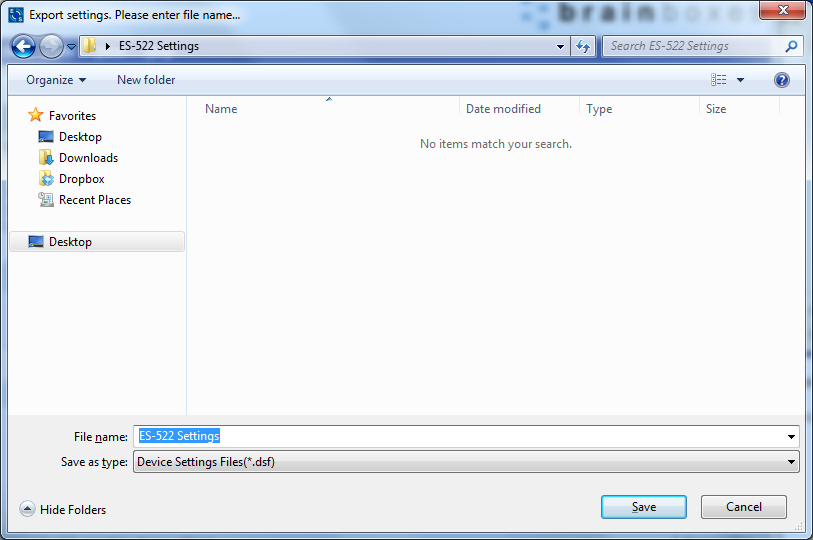
Browse to a location where you wish to save the settings file.
-
Enter a file name in the "File name" box. E.g. "ES-522 Settings"
-
Press Save.
Importing Device Settings
-
Open Boost.LAN Manager
-
Find and select your installed ES Device
-
On the left hand panel of the window, scroll down to the "Other Tasks" section
-
Select "Import Settings"
-
Browse to the location of the settings file.
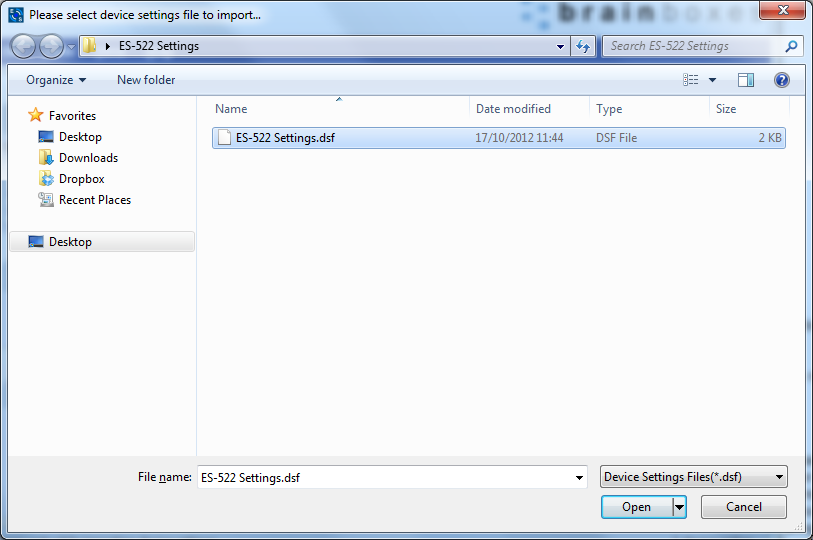
-
Select the file and press Open
-
The settings will then be imported onto the device.
Rebooting Device
We strongly recommend that you check that the device is NOT in operation before doing this to prevent data loss.
If for any reason you wish to reboot your device, whilst still retaining the existing settings:
-
Open Boost.LAN Manager
-
Find and select the ES device you wish to reboot.
-
On the left hand panel of the window, scroll down to the "Other Tasks" section and click "Reboot Device"
- Click OK to confirm that you want to reboot your device.
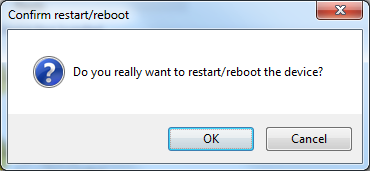
- The status LED will flash red/green and the device will reboot. Any connections you may have had to the COM port may need to be reopened.
Restoring to Factory Default
We strongly recommend that you check that the device is NOT in operation before doing this to prevent data loss.
If for any reason you wish to restore the ES device back to factory default settings:
-
Open Boost.LAN Manager
-
Find and select the ES device.
-
On the left hand side of the window, scroll down to the "Other Tasks" section
-
Select "Restore Factory Settings"
- A window will appear asking you to confirm that you want to restore the device to factory settings. Click OK.
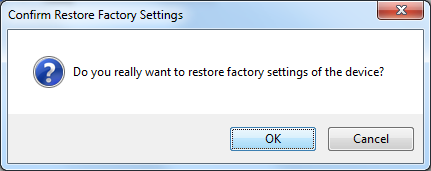
- The status LED on the device will flash red/green and the ES device will load the factory settings and then reboot.
See the Hardware Features section for factory default settings.
Firmware Upgrade
To upgrade your firmware to the latest release, follow the instructions below:
We recommend running the firmware upgrade with the ES device connected directly into the PC using an Ethernet cable.
-
Open Boost.LAN Manager and select your device from the Boost.LAN window.
-
Make a note of the current firmware version on the left hand panel.
-
Visit Brainboxes website, www.brainboxes.com/support and locate the latest firmware version for your device. Alternatively, contact Brainboxes Technical Support via [email protected] and request the latest firmware version be sent to you.
-
If the firmware online or received by Brainboxes Technical Support is a later version, download and save the file to a location you will remember
If the firmware is NOT a later version, do not proceed with the upgrade.
-
In Boost.LAN Manager, go to the left hand panel and select "Firmware Upgrade"
-
A message box will appear asking you to confirm you wish to upgrade the firmware.
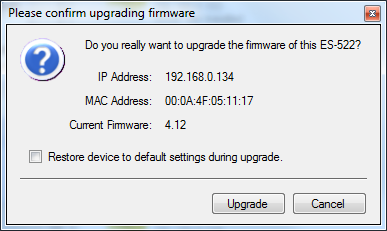
-
Press "Upgrade"
-
Browse to the directory where you saved the latest firmware.
-
Select the firmware file (the file extension will be .efw) and click Open.
-
Do not disconnect the ES Device from the network or power during the upgrade process.
-
Once the upgrade process is complete, select the device and check the firmware version shown in the left hand panel is now the later version.
Uninstallation
It is possible to uninstall individual ES industrial devices from your computer or remove the complete Boost.LAN Suite.
Individual Device Uninstallation
This can be done at any time, with or without the device connected. The un-installation steps below are applicable to all devices in the Ethernet to Serial industrial range.
-
Open Boost.LAN Manager.
-
Find and select the ES device you wish to remove.
-
Click "Remove Device" under the Tasks section in the left hand panel.
-
Once the device is removed, it will be listed in the "Online - Device Not Installed" section.
Complete Boost.LAN Suite Uninstallation
This will remove all Brainboxes Boost.LAN related software, including the Boost.LAN Manager and device drivers.
This can be done at any time, with or without the device connected. The uninstallation steps below are applicable to all devices in the ES Ethernet to Serial range.
-
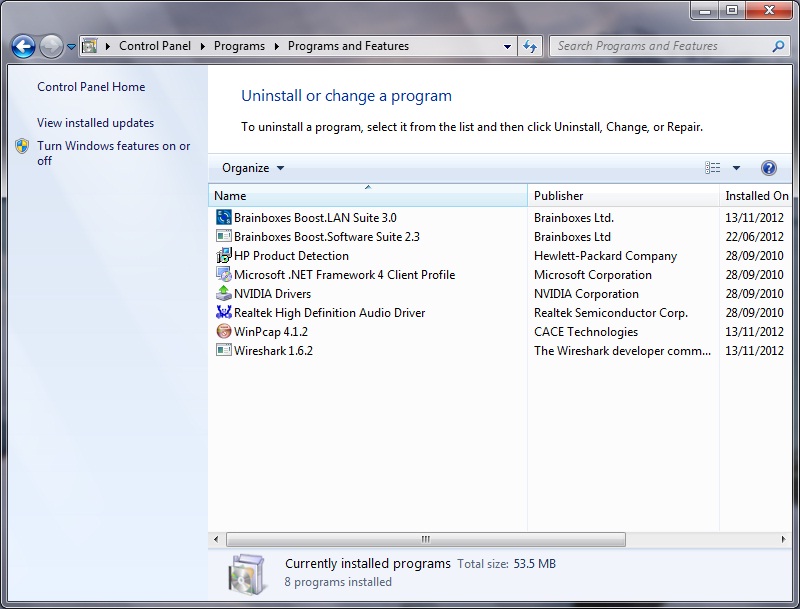
Open Control Panel, and then open "Add or Remove Programs" or "Uninstall a program", depending on your Operating System.
-
Click on the "Brainboxes Boost.LAN Suite" and then click "Remove" or "Uninstall".
- The Brainboxes Boost.LAN Suite will then be uninstalled.