
ED Analogue Boost.IO Manager
Introduction
Boost.IO Manager is a graphical user interface application which will allow you to find your Brainboxes ED device on a network and then configure some of the settings in Windows. As part of the Boost.IO application a COM port can be installed which allows communication with the device using the ASCII protocol.
Boost.IO Manager is not required if you want to communicate with the device using just the IP address or if you want to configure the device only using the web configuration pages.
Boost.IO Manager can be found on the CD that was packaged with your device.
Installing Boost.IO Manager
- Insert the CD into your PC
- Browse the contents of the CD and locate the "Setup" program on the CD and double click to launch
- Click 'Install' to launch the Boost.IO setup program
- Follow the on screen instructions to install the Boost.IO application
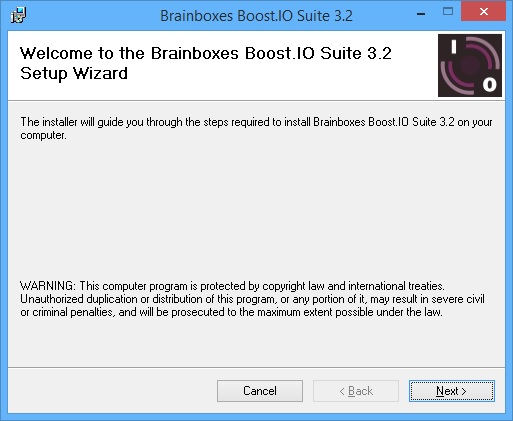
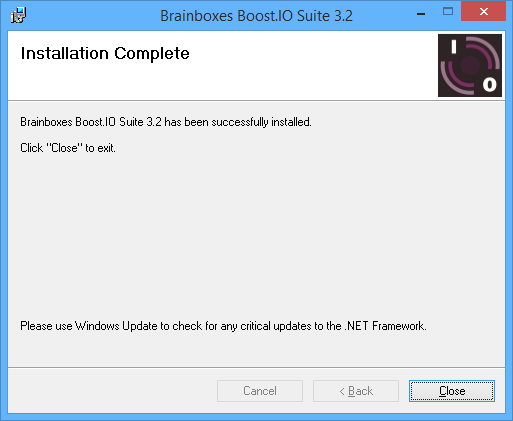
- Once the installation process is complete you will see the setup wizard now says "Installation Complete" and there will be a Boost.IO Manager icon on your desktop.
Finding and Installing an ED Device
When using the ED device with Boost.IO Manager a COM port can be installed which allows the user to send ASCII commands to the device using a COM port connection.
-
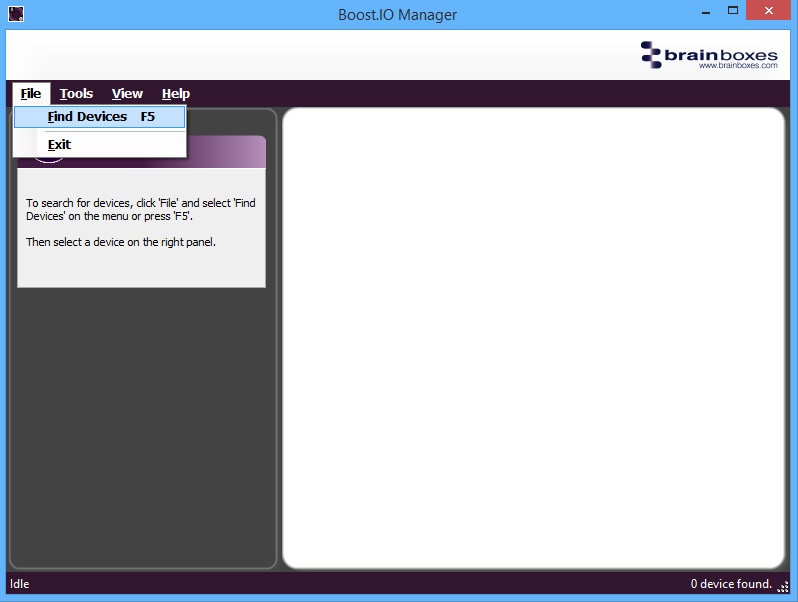
Open Boost.IO Manager by double clicking the Boost.IO Manager icon on your desktop.
-
Click File > Find Devices to search for devices on the network (or press F5). This will find any ED devices on the same subnet as your PC. If your device is on a different subnet, please see the section Adding a Device by IP Address.
-
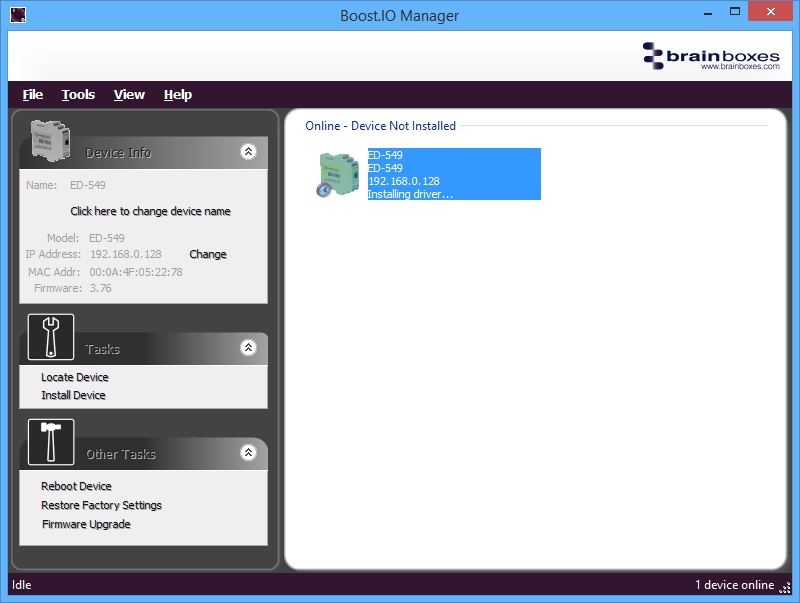
Once the search is complete, all the devices that have been found on the network will be displayed in the main window of Boost.IO Manager. When you select a device, the information and settings options for that device will appear in the left column.
-
You can identify your ED device by matching the MAC address in the left panel of Boost.IO Manager with the MAC address on the sticker of your ED device's case.
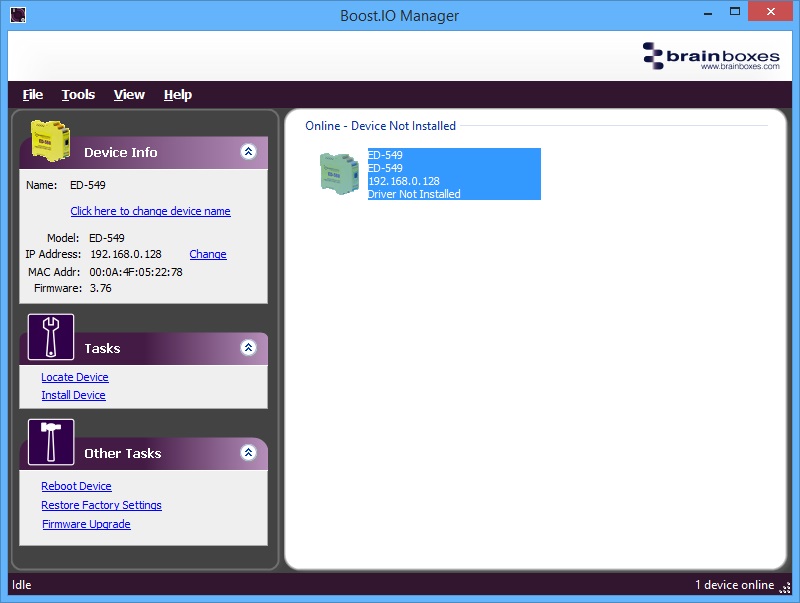
- When you have found your device in Boost.IO Manager, in the left panel under 'Tasks' click Install Device.
- The driver for the device will be installed and, when complete, the icon in Boost.IO Manager will have a blue tick next to it and the status will be 'Ready'.
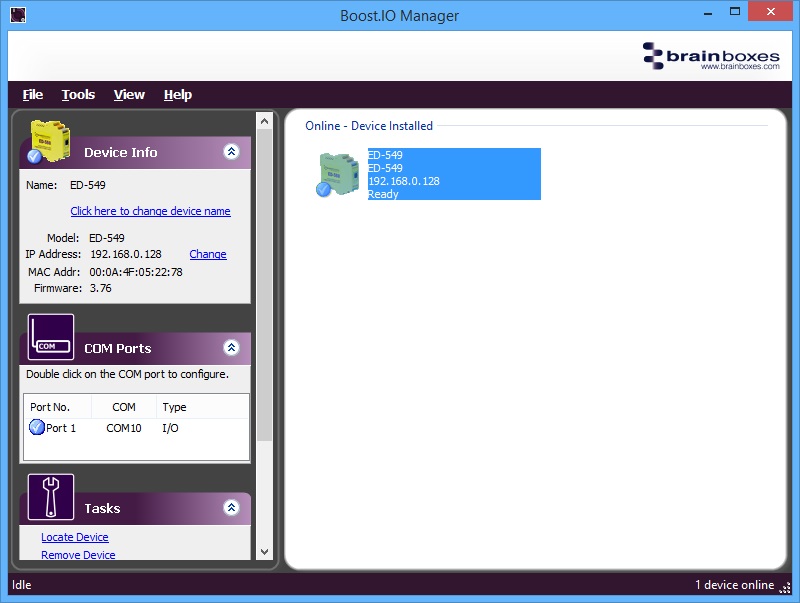
- There will now be a COM Ports section in the left panel which allows you to change the settings of the installed COM Port such as baud rate and COM label.
COM Port Settings
To change the COM Port settings of an installed ED device, follow the steps below.
-
Open Boost.IO Manager, if it is not already open, by clicking the Boost.IO icon on your desktop.
-
Select the installed device which you want to configure by clicking on it.
-
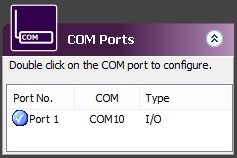
In the left panel find the 'COM Ports' section and double click on the port which you want to configure.
- You will then see the port properties dialog box. Click on the 'Port Settings' tab, then click the Configure Settings button.
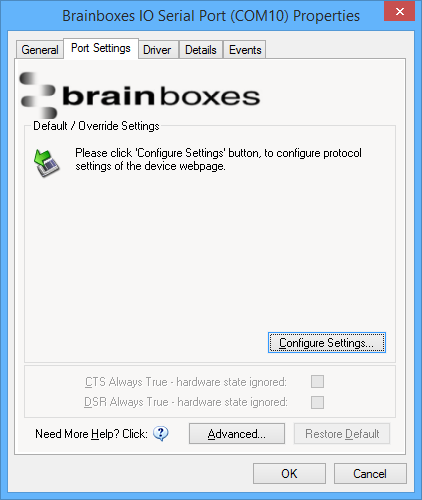
- A webpage will be opened which allows you to configure all of the devices settings. For more information on configuring the device using the web configuration pages please see Web Configuration Pages.
Advanced COM Port Settings
From the Port Settings tab, you can get to the advanced settings for the COM port by clicking the Advanced... button. This will open another dialog window allowing you to change the advanced settings for the COM port.
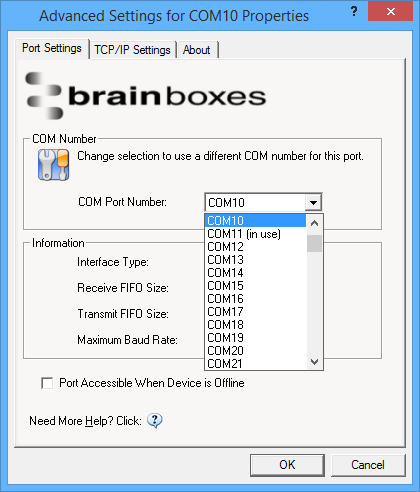
COM Port Number
The COM Port Number is changed using the drop down box on this page. Click the drop down box and select a COM Port Number from the list. If the COM Port number is labelled "(in use)", it is either currently used by a COM Port present on the system, or is reserved for a device which is not currently present. It is possible to select this COM number and force the change if you are sure it is not required by any other device. Click the OK button to apply the changes.
Port Accessible When Device is Offline
With ED devices being connected through a network, whenever a device is unplugged the device will go offline in Boost.IO Manager and any COM ports that are installed will become unavailable. By ticking this checkbox, it will keep the COM port available to use the port, even if the ED device is offline. This is useful if the device is being used in an application that requires a constant connection to a COM port.
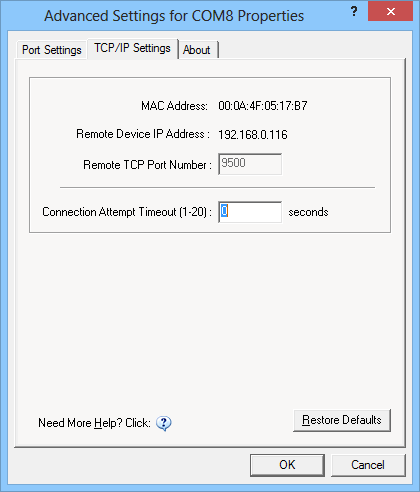
TCP/IP Settings
Under the 'TCP/IP Settings' tab is information about the ED device. There is also a connection attempt timeout field. This value is the time that the driver will attempt to connect to the device COM port before giving up. For example, if this value is set at 5 seconds, the driver will attempt to connect to the COM port for 5 seconds. If no connection could be made after 5 seconds, then the driver will stop attempting to connect.
If this value is set to 0, the driver will attempt to connect without ever giving up.
Adding a Device by IP Address
You may already know the IP address of the device that you are using. This might be because the device has had an IP address reserved for it by a system administrator or you are remotely connecting to the device. Using the IP address of the device, you can add it manually into Boost.IO Manager.
-
Open Boost.IO Manager by clicking the icon created on the desktop when the application was installed.
-
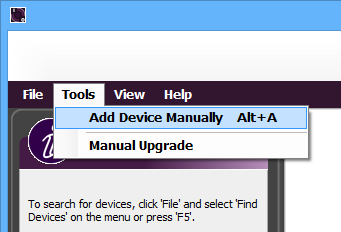
Select Tools and then click Add Device Manually.
- Enter the IP address and port number of the device into the Device IP Address box then click the Next button.
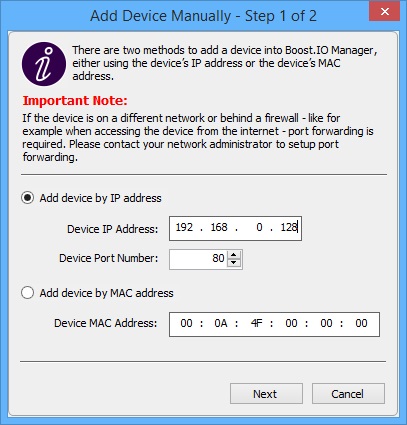
- Enter the ASCII Protocol Port number into box. The default Port Number is 9500.
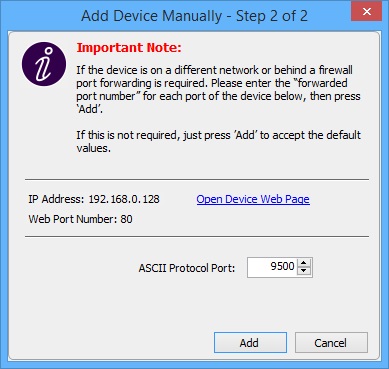
- Click Add and the device will be added to the Boost.IO Manager window.
Adding a Device by MAC Address
A device can be added into Boost.IO Manager by entering the MAC address. The MAC address of a device can be found on the sticker of the device. Follow the instructions below to add the device using the MAC address.
-
Open Boost.IO Manager by clicking the icon created on the desktop when the application was installed.
-
Select Tools and then click Add Device Manually.
-
Select the Add device by MAC address radio button then enter the MAC address of your device.

-
Enter the MAC address of your device into the text box and click the Next button.
-
Enter the ASCII Protocol Port number and click Add.
IP Addressing
The IP address settings can be easily changed using Boost.IO Manager.
-
Click on the device of which you want to change the settings.
-
In the 'Device Info' section on the left hand side, click the Change link next to the current IP address.
-
Click OK to confirm that you do want to change the IP address of your device.

- Select the Assign Static IP Address radio button and enter an IP Address, Subnet Mask and Gateway Address then click Apply.
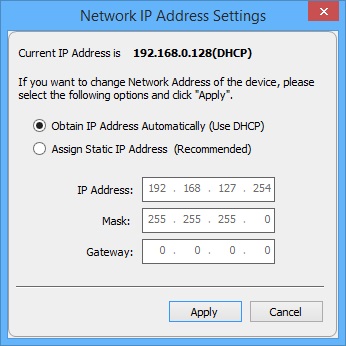
- The ED device will reboot itself and have the new IP address once it has booted back up.
Rebooting Device
Please ensure your device is not in operation before rebooting it to prevent data loss.
-
To reboot your device, firstly open Boost.IO Manager and select the device you wish to reboot.
-
On the left side of Boost.IO Manager under the 'Other Tasks' section, click Reboot Device.
-
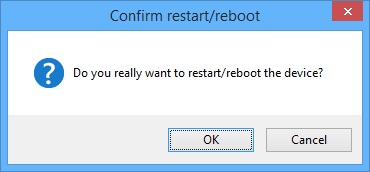
Confirm that you want to reboot your device.
-
The device will then reboot. Once the LEDs on the device are green it is ready to use again.
Restoring Factory Settings
Restoring the Factory Settings will erase any current settings that you have on your ED device. Please ensure your device is not in operation before rebooting it to prevent data loss.
-
To restore the factory settings of your device, open Boost.IO Manager and select the device which you want to restore.
-
On the left side of Boost.IO Manager, under the 'Other Tasks' section, click the Restore Factory Settings link.
-
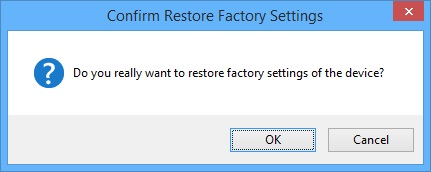
Confirm that you want to restore factory settings of the ED device.
-
The device will be rebooted and the factory settings will be restored.
Firmware Upgrade
Before upgrading your firmware, please ensure your device is not in operation.
-
Open Boost.IO Manager and select your device in the window.
-
On the left side of Boost.IO Manager, under the 'Other Tasks' section, click the Firmware Upgrade link.
-
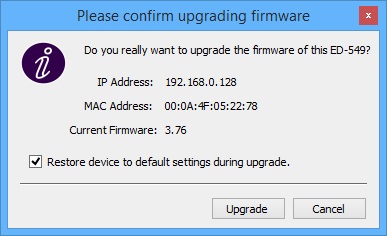
When the message box appears confirm that you have selected the correct device. If you wish to restore the device to default settings click the tick option and then click Upgrade. Otherwise just click Upgrade.
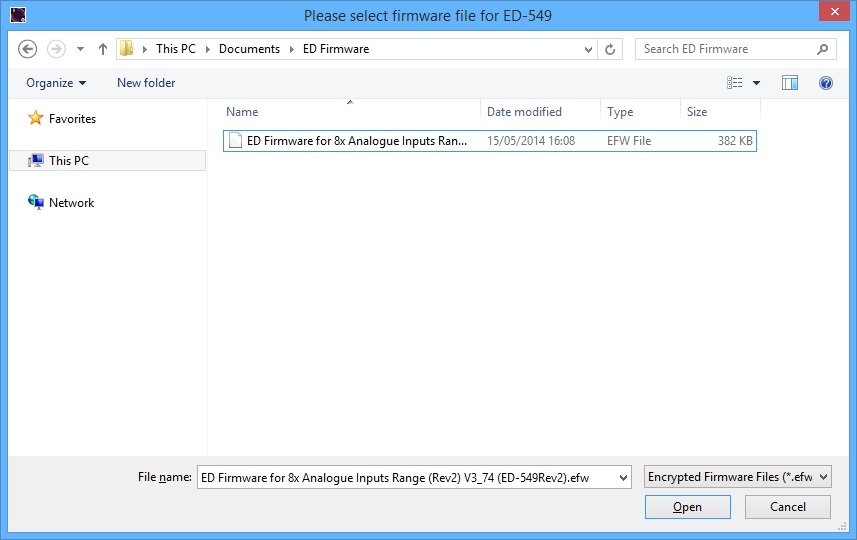
- Navigate to the location of the new firmware '.efw' file and open it.
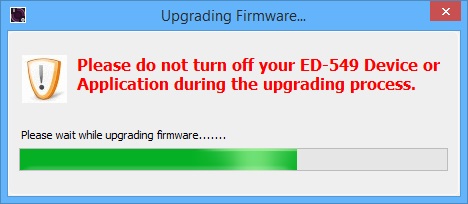
- The ED device will be upgraded with the firmware file you selected and then will reboot.
- Click OK when the upgrade success dialog box appears.
Proxy Server Settings
If you have a proxy server enabled on your PC this will restrict access to the web page interface. You may need to add the ED device to the Proxy Server's exceptions list. If you need help doing this contact your network administrator.
Device Swapping
In the unlikely event of a device failing, it can be easily replaced by swapping it with a device which has the same IP address. This is particularly useful when using a large number of ED devices together which have already been installed and setup and are already communicating with peripherals. The faulty device can be replaced without having to set up and install a new device. To set the device to the same IP address use the web page interface or Boost.IO to set the IP address to the static address of the device you are replacing.
Adding a Remote Device Using Boost.IO
-
To access the device through Boost.IO go to Tools and then click Add Device Manually.
-
Enter the public IP address of your router into the Device IP Address field, and the port forwarding number into the Device Port Number field.
-
Click the Next button.

- Enter the port forwarding number for Port 1 and then click the Add button. The device will then appear in the Boost.IO manager window. It can then be installed and used as if it were on a local network.
Remote Access
The Remote access feature of the ED devices allows access to the device over the internet or from a different network. The device can be accessed either through the webpage interface, or through Boost.IO Manager. To access the ED device remotely, you will need to set up port forwarding through the router which connects your local network to the internet. If you need assistance setting up port forwarding on your network, contact your network administrator.
Once you have the IP address and port forwarding numbers of the device and the ports, you can either access the device through the webpage or add the device manually using Boost.IO Manager.
The ED devices store their settings in one place, inside the device. When accessing the device either from the web configuration pages or using Boost.IO Manager, it will get and set the settings inside the device itself. Therefore, if Boost.IO Manager is closed and a setting is updated using the web configuration pages, Boost.IO won't know that any settings have changed until it is opened. When the application opens, it will automatically get the settings of any installed devices.