PX Windows 7 and Server 2008 R2 Installation
Windows 7/Server 2008 R2 Installation
The following installation instructions use a PX-346, but the installation instructions are the same for any PX card.
Automatic Installation via Windows Update
-
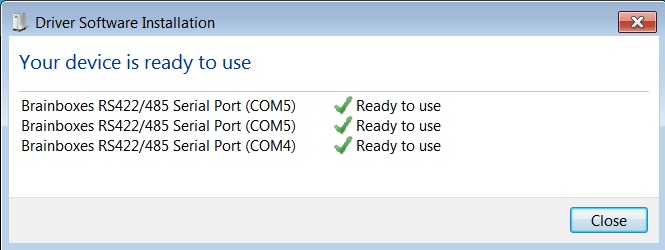
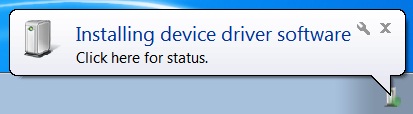
When you boot up your computer on Windows 7, Windows Update will automatically search for the latest drivers. If you have a connection to the internet, the drivers will be installed and the device will be ready to use.
-
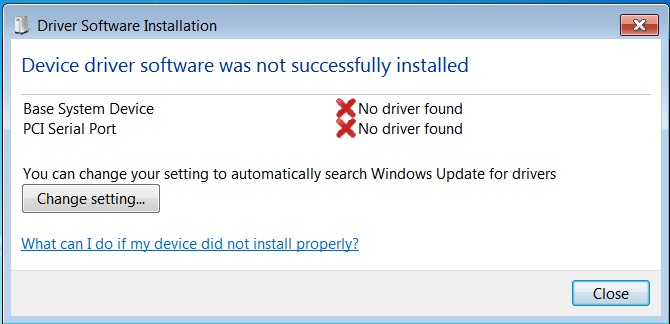
If there is no connection to the internet or the drivers can't be found, a message will appear to tell you that device driver software was not successfully installed.
Manual Installation
-
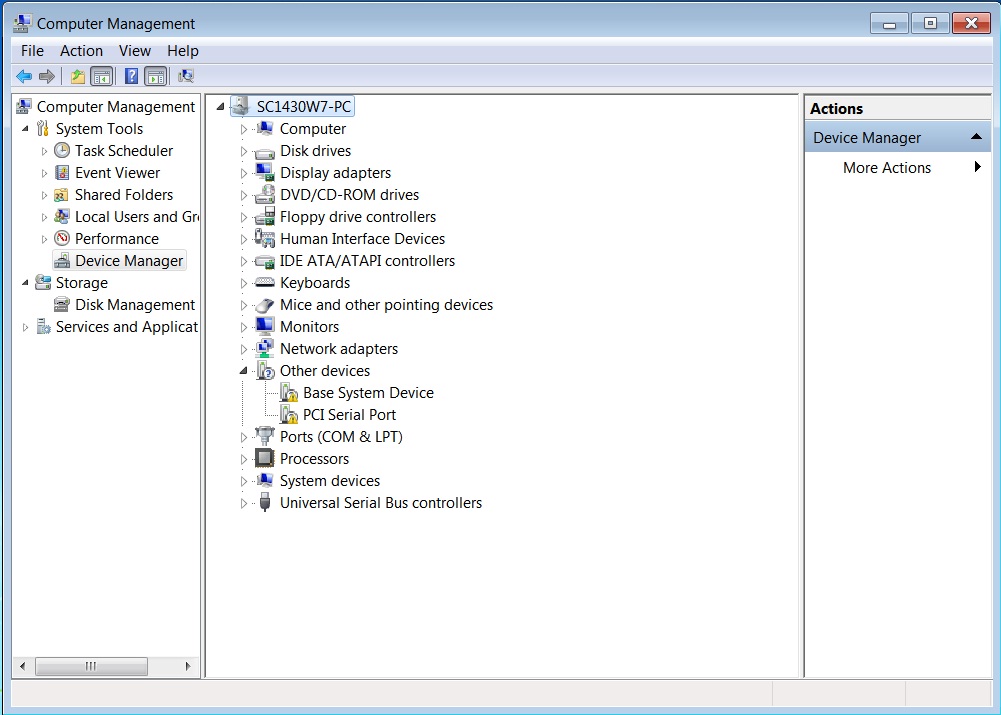
To install the drivers, Device Manager will need to be opened. To open Device Manager go to the Control Panel, System, Hardware tab, then click on the Device Manager button.
-
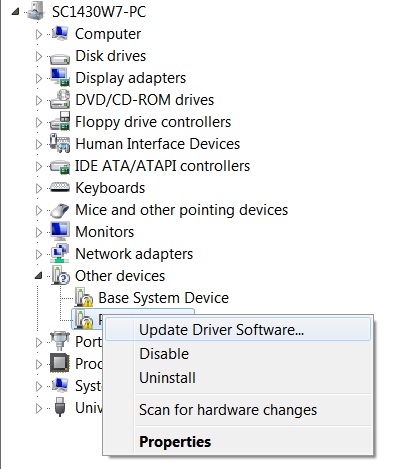
Once this is open you will see the yellow ! icon in the Other Devices node. Right click on the device and click on Update Driver Software.
-
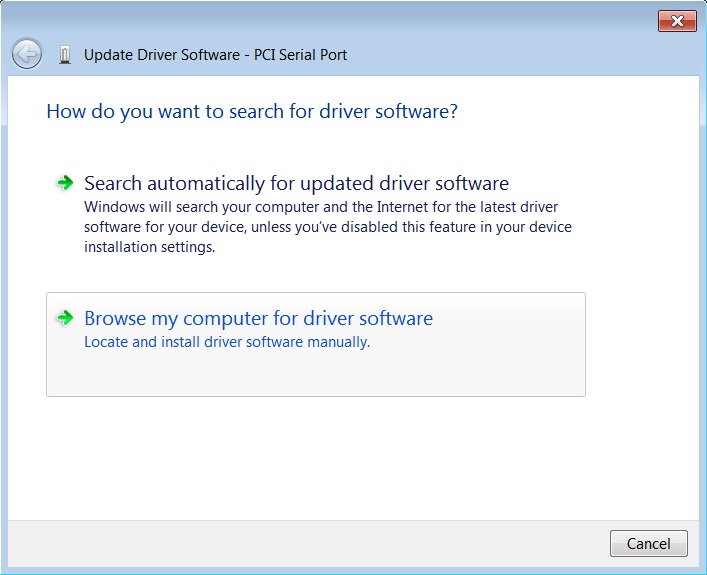
If your Brainboxes card came with a CD, insert it now and select to search automatically and the driver software will be found and installed. Skip to step 7. If not and you have a folder with the drivers, select to browse your computer for the drivers.
-
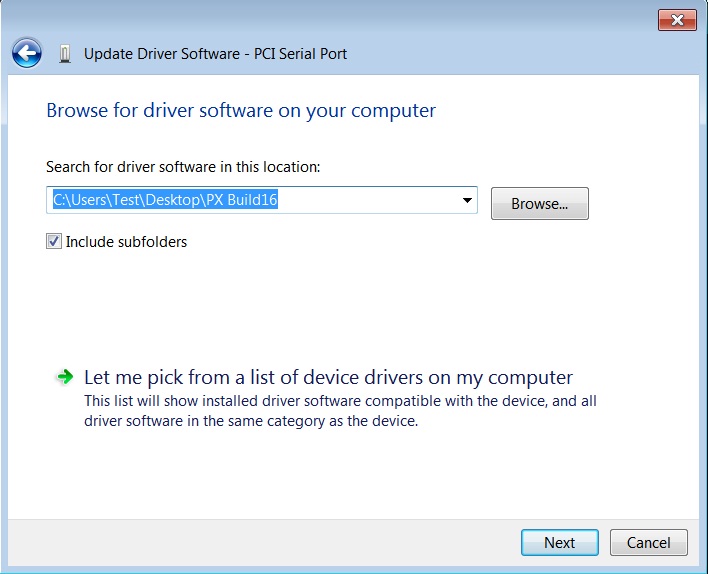
Select the folder which contains the drivers that you want to install for your device.
-
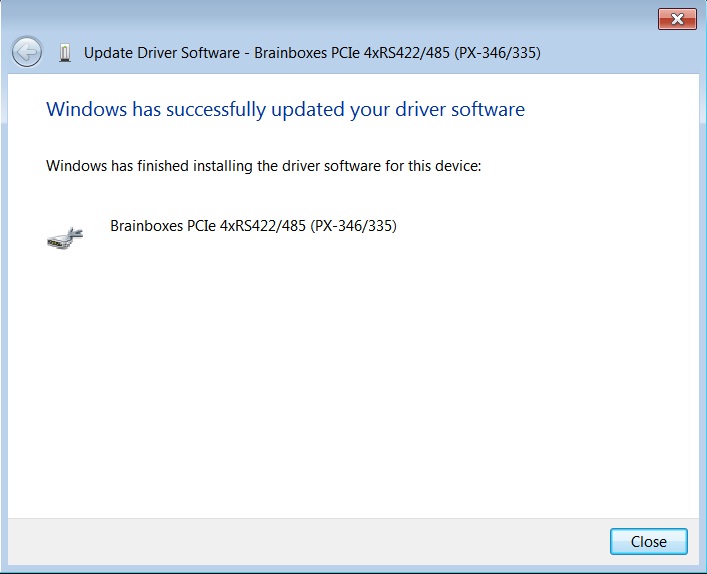
The drivers will then be installed for the card.
-
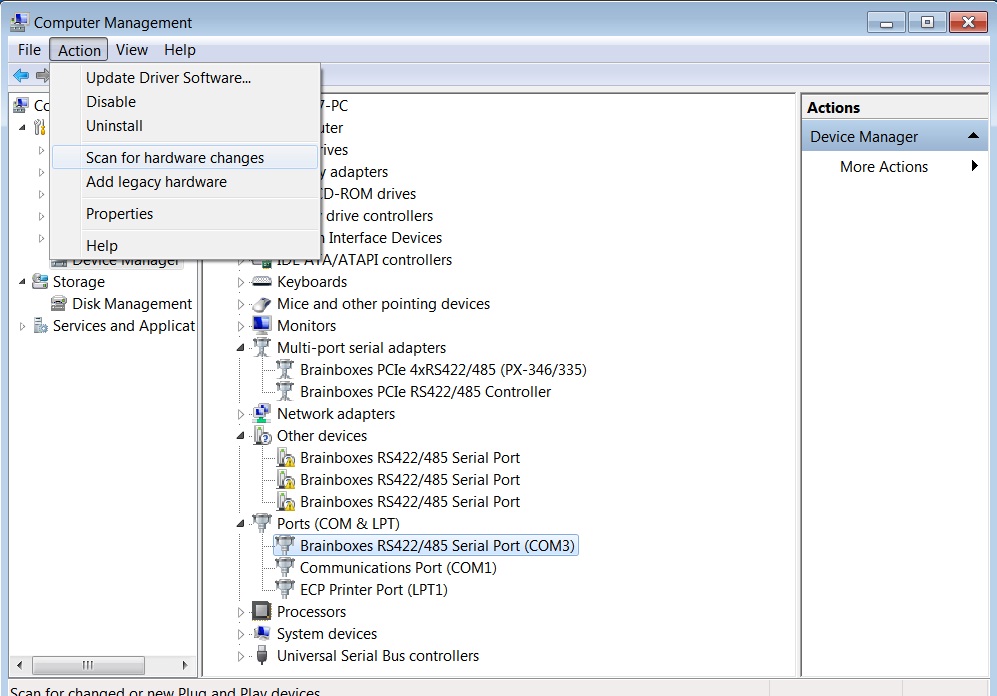
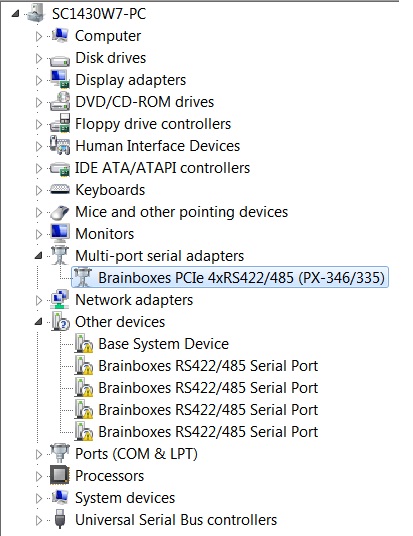
You will then need to install the Base System Device (RS-422/485 devices only) and then install all of the Serial ports using the same steps as above.
-
Once you have installed one of the ports you can scan for hardware changes and the other Serial Ports will be installed automatically.