
ES Light-Industrial Installation Steps
The "Setup" program will install the Boost.LAN Manager application.
-
Boost.LAN Manager application is the graphical user interface for locating and configuring all Brainboxes' Ethernet to Serial devices in Windows.
-
Boost.LAN is the COM ports device driver that you will use in Windows to access your ES ports as standard Windows COM ports. You need Boost.LAN Manager to install the Boost.LAN COM ports driver.
-
Neither Boost.LAN Manager or Boost.LAN is required if:
- Your application speaks directly to IP addresses. (E.g. using telnet or Win sock communication)
- You want to remotely change the settings of the ES device via web page access
Follow the instructions below to start the installation process.
If you have any issues with installation, see the Troubleshooting section.
Connecting Your ES Device
-
Connect the ES device to your local network by using an Ethernet cable and plugging into the Ethernet port connection. The ES Ethernet port will automatically detect the polarity of the Ethernet connection so both a straight through or crossover Ethernet cable can be used.
-
Connect the power adapter or a DC power line (5-30V) to the ES power terminal block or jack connection.
If using the Brainboxes PW-644 power supply ensures:
- the wire marked "-" is connected to V-
- the wire marked "+" is connected to V+
-
When the Status LED starts shows a solid green light the device is ready to use.
-
Connect the serial cable from your serial device to the port terminal block or DB 9 connector (depending on ES model) on the ES device. See the Technical Specifications for pin outs.
Make a note of device MAC address (on the side of the ES device, XX-XX-XX-XX-XX) as you will need it to identify the device on your network later.
Windows Installation: Boost.LAN Manager Application (Windows 7)
-
With the computer turned on, insert the Boost.LAN Driver CD. This should launch the Brainboxes Navigation Page
noteIf the navigation page does not auto load, go to Start > My Computer > Right Click the CD and select Explore. This will open the CD in Windows Explorer for browsing the contents of the CD. Locate the "Setup" program on the CD and double click to launch. Proceed to Step 3.
-
Click "Install" to launch the Boost.LAN Setup.exe program.
-
Follow the on screen instructions to install the Boost.LAN Manager application

-
When installation is complete, you should see an icon labelled "Boost.LAN Manager" on the desktop.
Windows Installation: Device Driver (Windows 7)
-
Double click the icon labelled "Boost.LAN Manager" on the desktop to open the application.
-
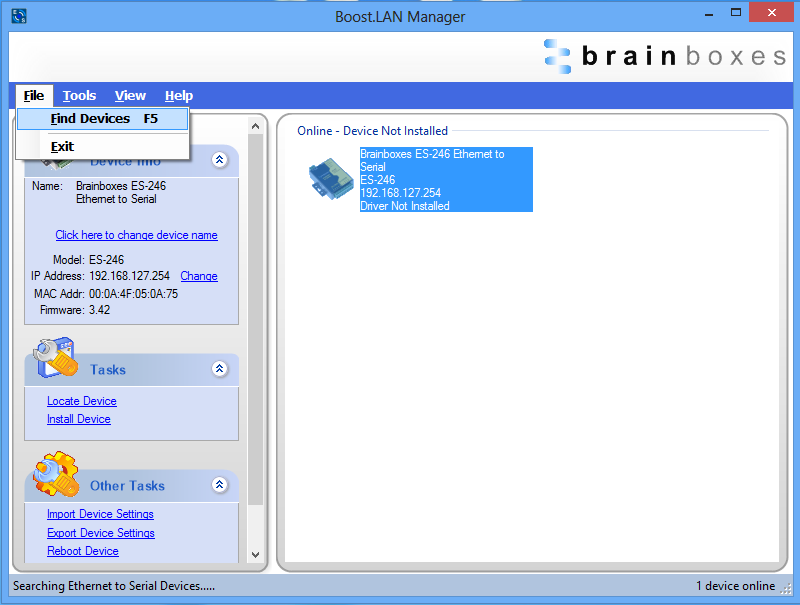
Click on the "File > Find Devices" in the top left hand side of the window. This will find any Brainboxes Ethernet to Serial devices connected to your network.

-
You can find your Brainboxes ES-device by selecting a device and matching it with the corresponding MAC address available in the left hand panel (see below). The MAC address of your device is located on a sticker on the side of the ES device.

-
Once found, select the device and scroll to the "Tasks" section on the left hand panel.
-
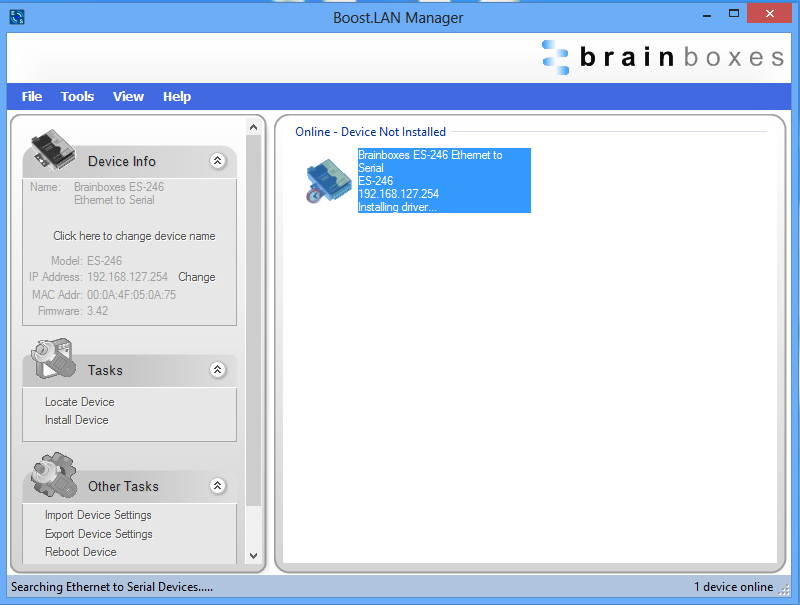
Click "Install Device".
-
During the device installation you will see a timer symbol and the status of the device will be 'Installing driver...'.

-
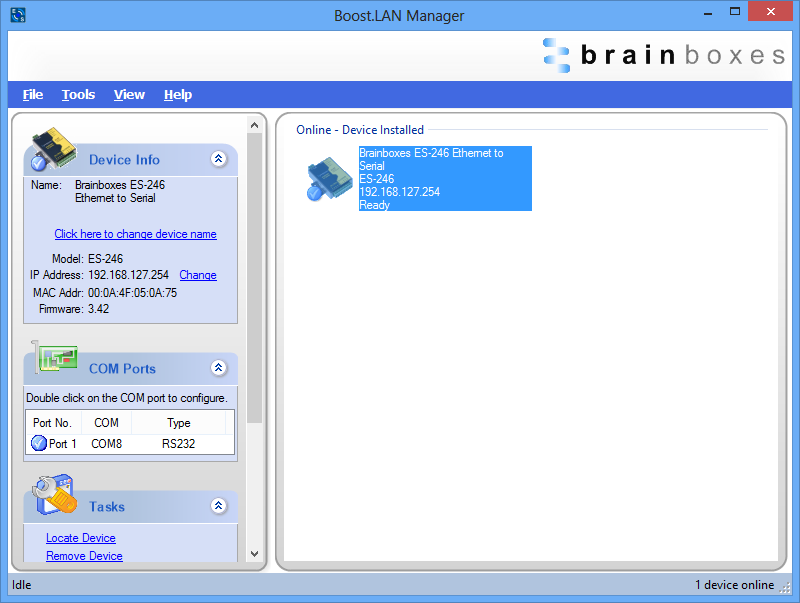
Once the device is installed a pop up box will appear saying 'Your new hardware is installed and ready to use.'

-
In Boost.LAN Manager, the device will display a blue tick symbol showing that it is installed and the status of the device will be 'Ready'.
-
You can check the COM Number of the Port, by following the instructions in Finding your Brainboxes COM port. If you need to change the COM port number, see Advanced Configuration - Changing Your COM Label.
Windows Installation: Boost.LAN Manager Application (Windows 8)
With the computer turned on, insert the Boost.LAN Driver CD.
If the navigation page does not auto load, go to Start > My Computer > Right Click the CD and select Explore. This will open the CD in Windows Explorer for browsing the contents of the CD. Locate the "Setup" program on the CD and double click to launch. Proceed to Step 3.
-
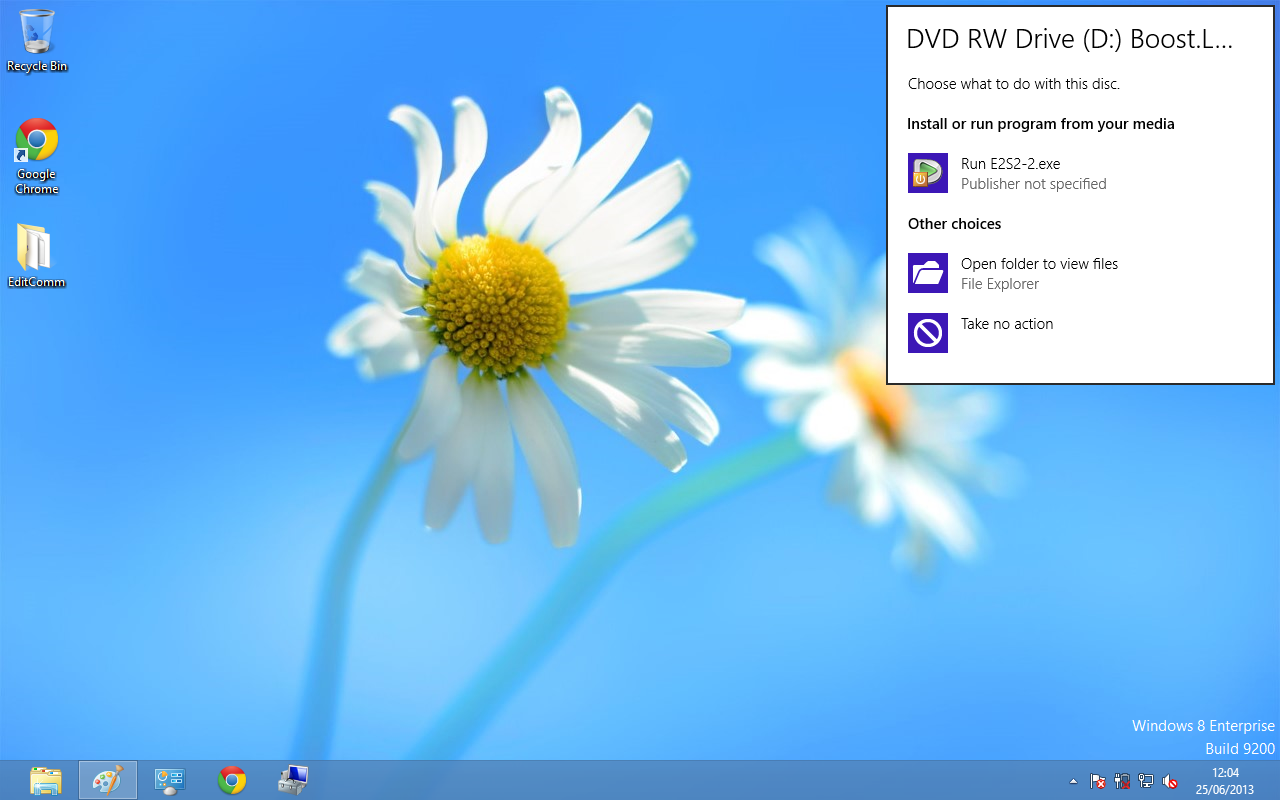
You will now see a purple pop up window as shown below. Click on it.

-
This will bring up a new menu. Select the 'Open folder to view files' option.
-
Click on the setup.exe file to begin the installation on the Boost.LAN manager application.

-
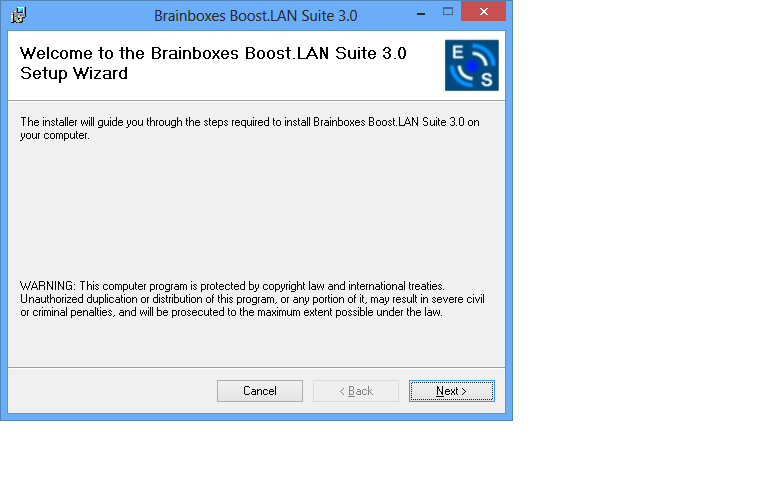
When you click on the setup.exe file shown above in step 3, you will then be presented with the below window. Press next.
-
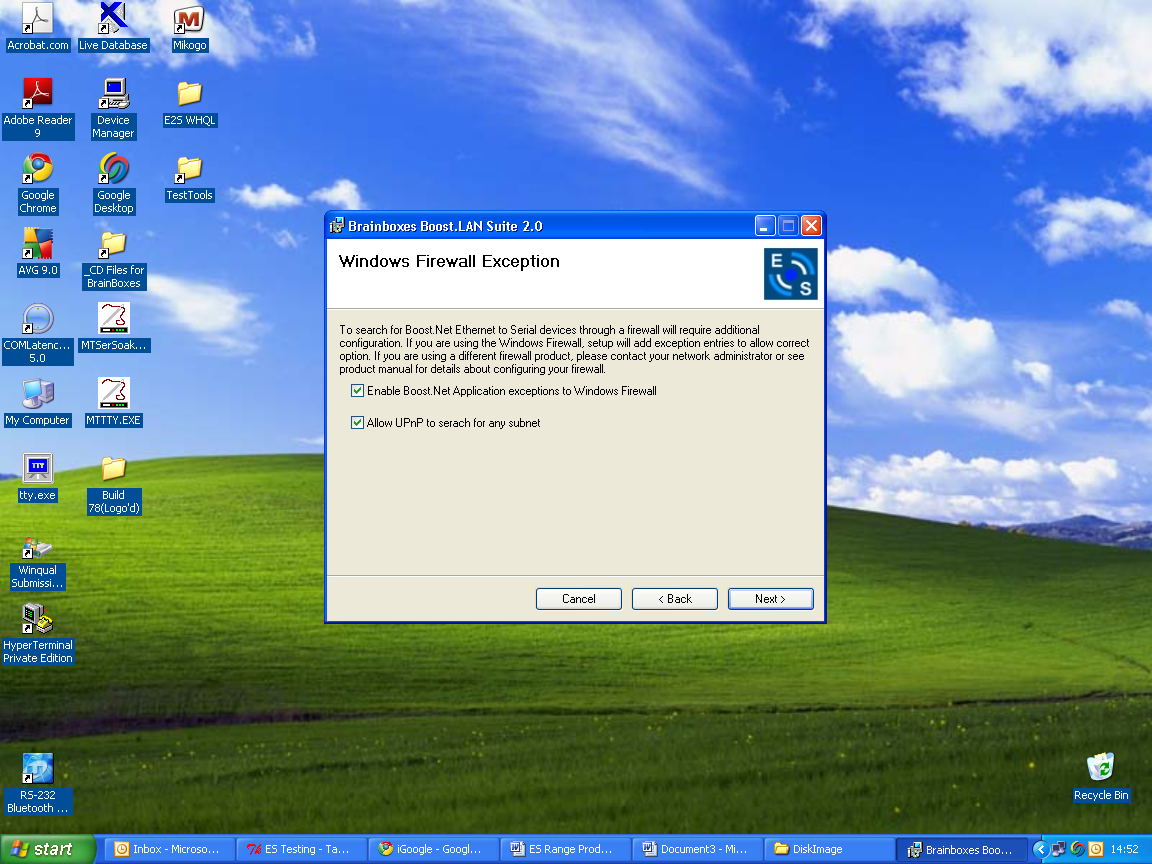
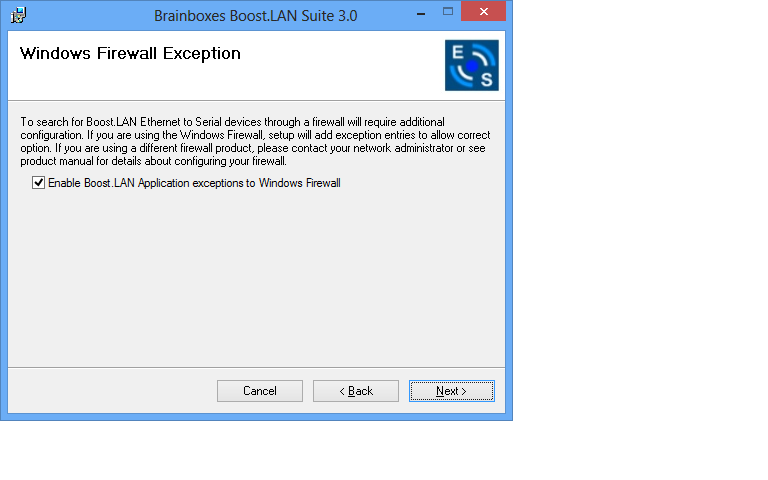
After you have clicked next, the setup program will ask you to allow Boost.LAN Ethernet to Serial devices through your firewall. Enable the tick box to continue the installation procedure.
-
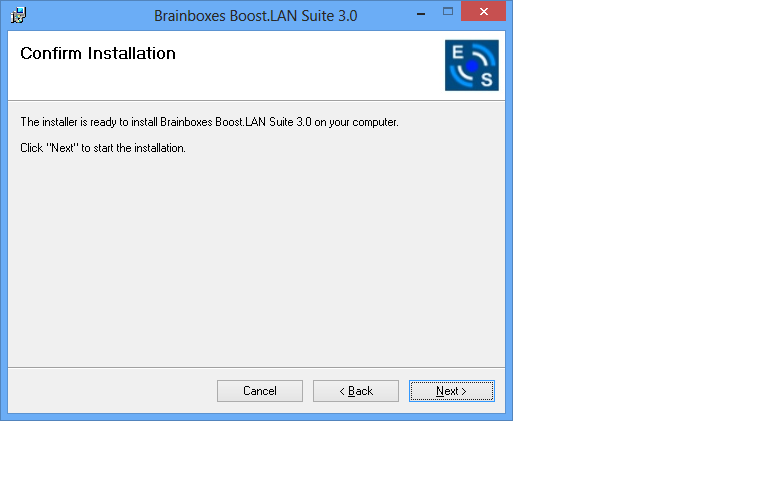
You will now be asked to confirm whether or not you wish to carry on installing the software. Click next.
-
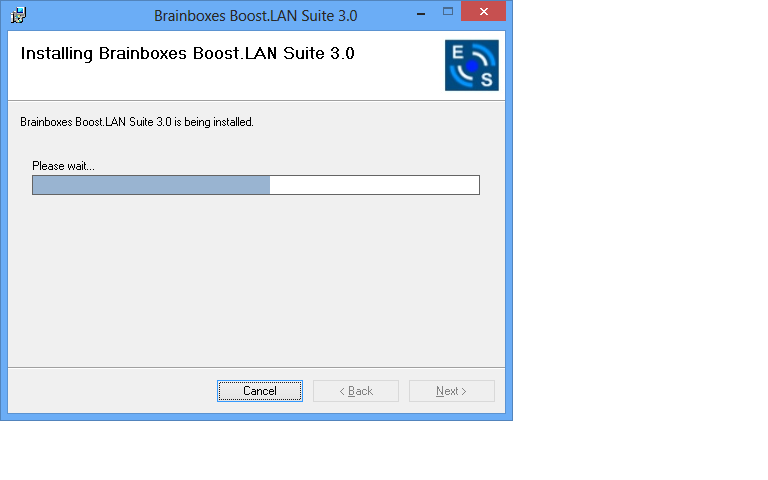
The software will now begin to install.
-
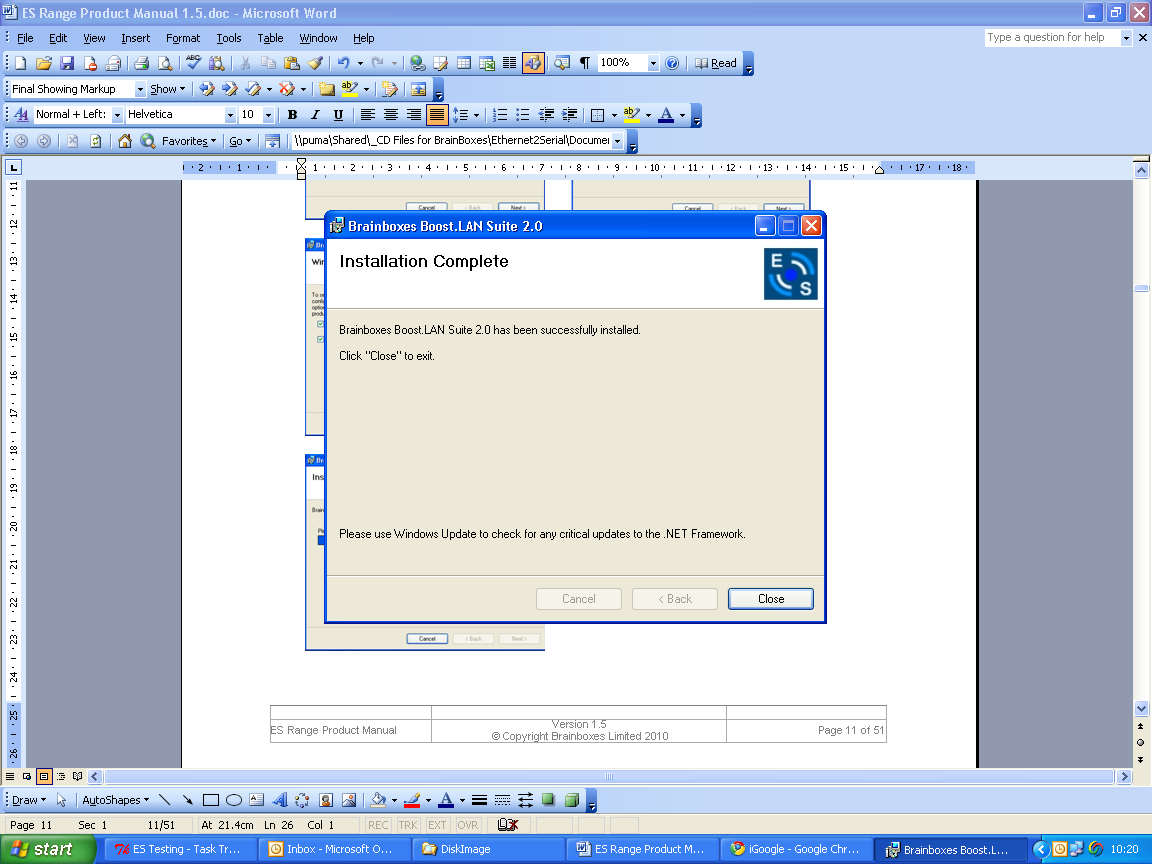
After the installation has finished, you will now see the below window. Click close.

Windows Installation: Device Driver (Windows 8)
Double click the icon labelled "Boost.LAN Manager" on the desktop to open the application.
-
Click on the "File > Find Devices" in the top left hand side of the window. This will find any Brainboxes Ethernet to Serial devices connected to your network.
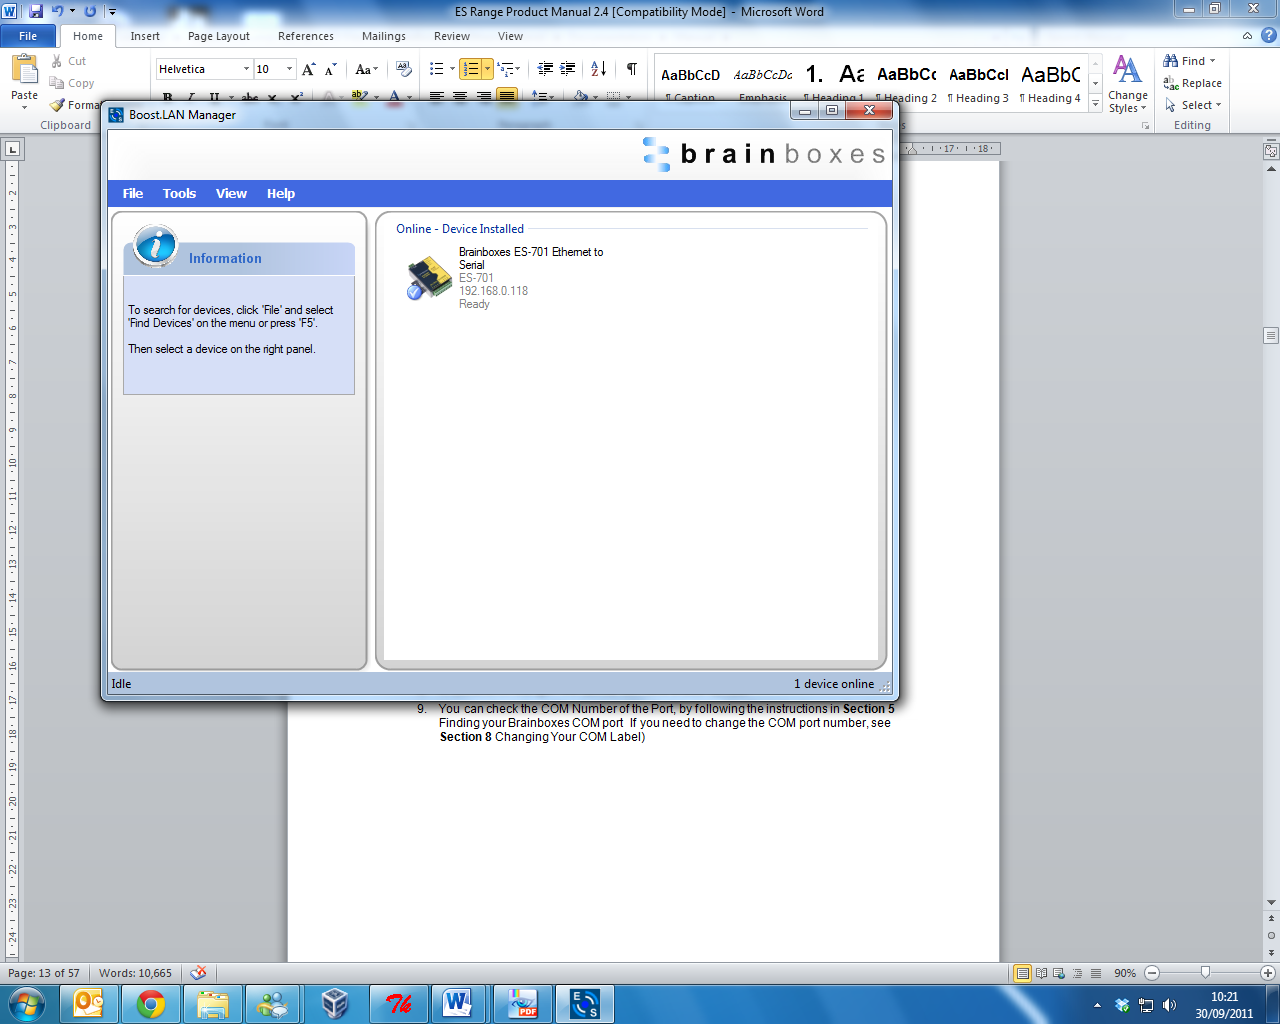
You can find your Brainboxes ES-device by selecting a device and matching it with the corresponding MAC address available in the left hand panel (see below). The MAC address of your device is located on a sticker on the side of the ES device.
-
Once found, select the device and scroll to the "Tasks" section on the left hand panel. Now click Install Device as shown below.
The device will now begin to install. During the device installation you will see a timer symbol and the status of the device will be 'Installing driver...'
-
In Boost.LAN Manager, the device will display a blue tick symbol showing that it is installed and the status of the device will be 'Ready'. Shown below.
-
You can check the COM Number of the Port, by following the instructions in Finding your Brainboxes COM port. If you need to change the COM port number, see Advanced Configuration - Changing Your COM Label.