
VX Windows Vista and XP Installation
-
With the laptop turned on, insert the CD
-
Go to Start > My Computer > Right Click the CD and select Explore. This will open the CD in Windows Explorer for browsing the contents of the CD.
-
Locate the "Setup.exe" program on the CD and double click to launch.
-
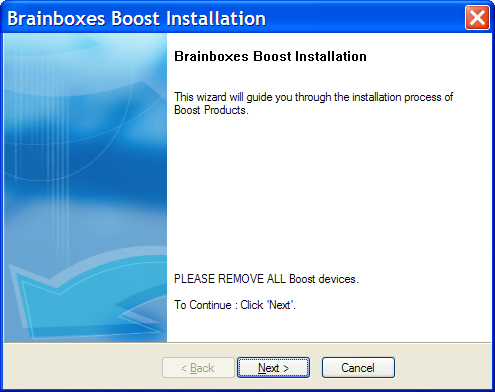
Ensure all VX ExpressCard devices are REMOVED before proceeding. Otherwise installation may not complete successfully.
-
Click Next
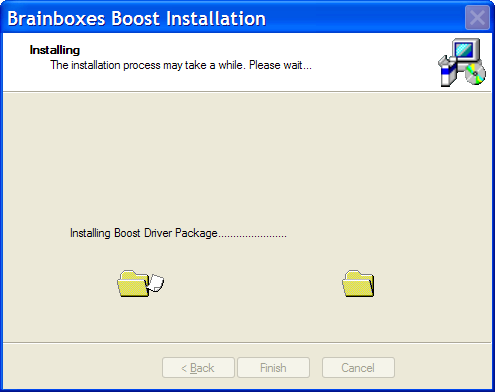
- The drivers will then be installed. This may take a while, depending on your system.
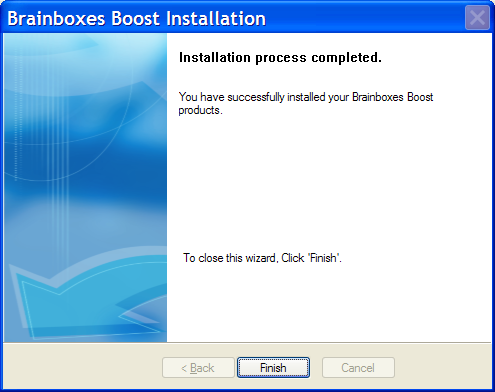
- Installation Complete. Click Finish.
-
Insert your VX Product(s).
-
Pop up balloons will appear as the device is recognised by the preinstalled drivers. The example below is for a VX-001, and may differ slightly per product.

-
Once installation is complete (indicated by last balloon above), your device will now be ready to use.
-
You can check the COM Number of the Port by opening Device Manager (See Finding your Brainboxes COM port). If you need to change the COM port number, see Changing Your COM Label.