
UC Windows 8 Installation
Follow these steps to install your Brainboxes Serial Solutions card on Windows 8.
Important
Insert the card whilst the system is turned off before beginning the installation process.
Installation Steps
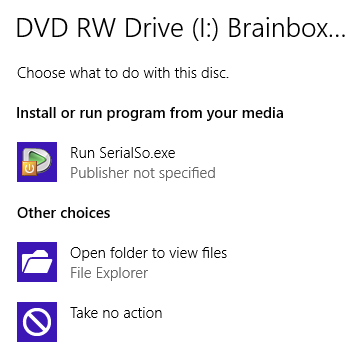
- Once the card has been inserted, power on the system and then insert the Serial Solutions CD. When the CD is inserted, a few seconds later the below purple pop-up window will appear - click on it.

- You will now need to select the Open folder to view files option.
- To begin the installation of the drivers, you will need to double-click on the Setup.exe file which is the second bottom file of the list of files.

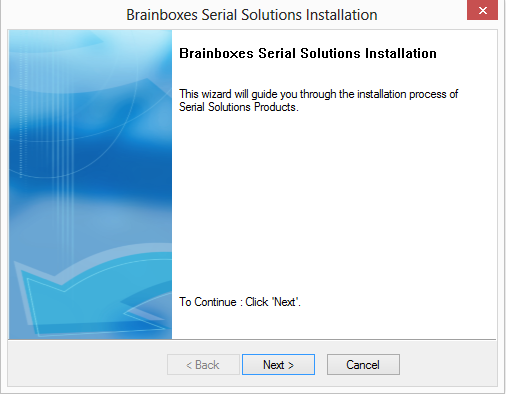
- When the Setup.exe file has been clicked on, a new window will appear. You will now need to click Next to proceed.
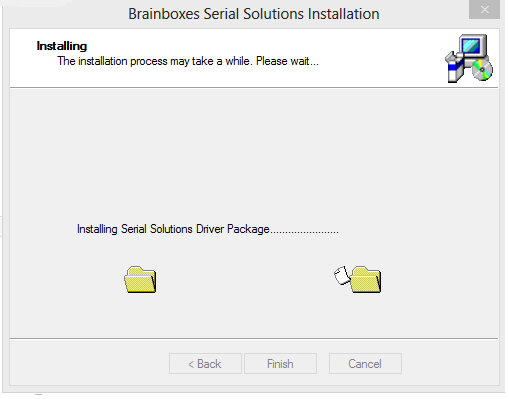
- Once you have clicked Next, there will be a window which shows you that the drivers are installing.
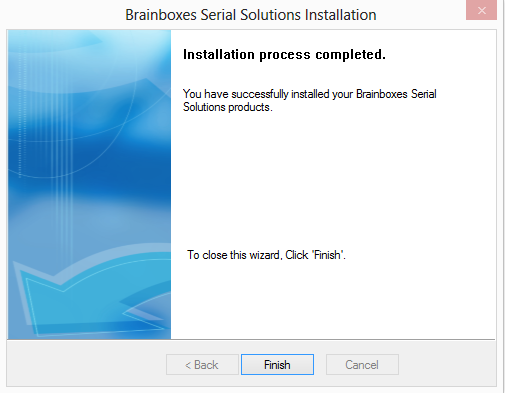
- Once this has completed, you will see a window saying Finish. Click on it and the driver will finish the installation procedure.
- Now that the installation procedure has finished, you will need to go to Device Manager and check the COM ports.

You will now be able to use the card. Simply select the COM port you are assigned and you will be able to use it with your application or equipment.
Next Steps
Once installation is complete, proceed to Product Configuration to configure your COM ports.